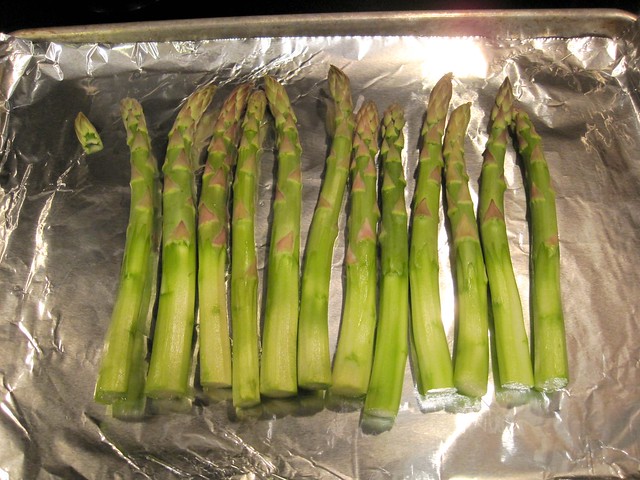
Why roast asparagus? Crunch and caramelization, both of which are BEST. So luckily this is pretty easy. Just make sure you use thick-stalked asparagus. And if the stalks feel particularly woody you can peel off the tough outer layer with a vegetable peeler. Then just lay them out on a foil-lined sheet pan:
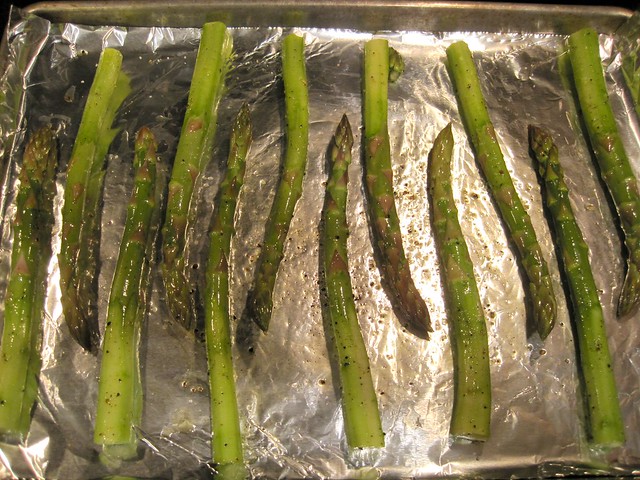
Add a glug of olive oil and a couple pinches of salt and pepper, then mix all that up with your hands:
Then put the sheet pan on the bottom rack of an oven pre-heated to 450 F. After 10 minutes flip your spears over and cook for another 10 minutes. Serve and enjoy!
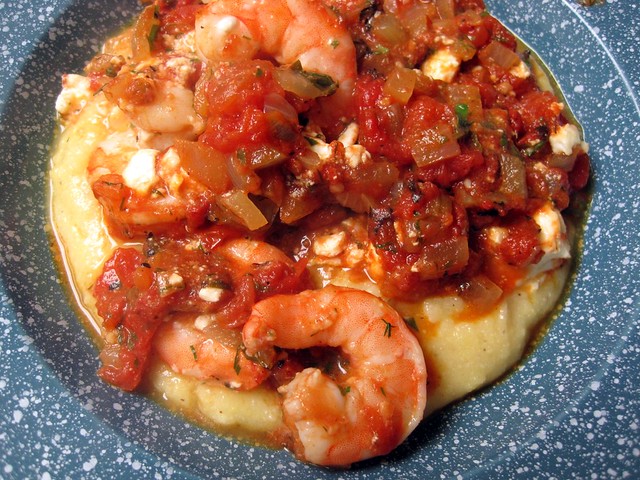
I can remember mentioning it at leasttwice in passing, and it's probably pretty likely that you saw the word and thought to yourself, "Self . . . whaaaa?" MY BAD. So before I flippantly mention it once again, let's talk a little bit about polenta.
What is polenta? Well, polenta is--to put it crudely (if you happen to be Italian)--Italian grits. And what is grits? Well, as we mentioned before, grits is corms. Delicious ground corms.
If polenta is just grits, why polenta? Because polenta is Italian grits. And what are Italians other than smooth, silky, and (rico) suave. Let's face it, sometimes you need a little Gerardo in your life, amirite?
Now that we've gotten that out of the way, let's do this thing. There's actually two ways you can make polenta. (Well, there's probably a million ways to make polenta; I will present you with two.) You can make it according to your package directions (boil water, stir in corn meal, cook for 20 minutes, add cheese) or, if you have a little time, you can make it this way. You'll need:
4 cups water
1 cup medium-ground corn meal (I've used white corn meal here because that's what I have; you'll find yellow is more traditional)
4 tablespoons butter
Up to 1 cup cheese (I like parmesan, but if you want a super fluffy and creamy and outrageous polenta you can use cream cheese)
Salt to taste
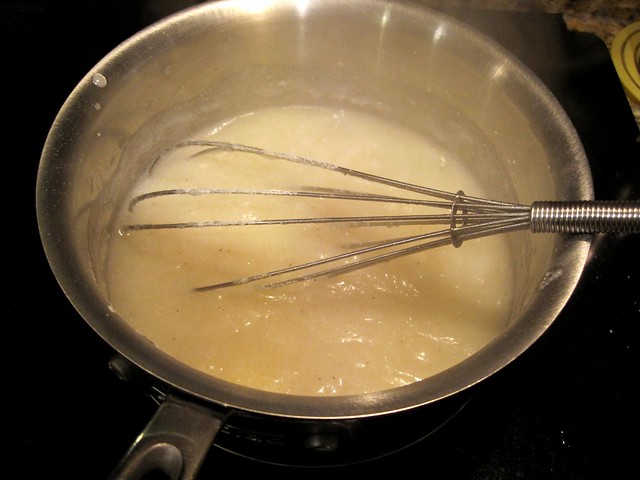
So, slightly salt the water and bring it to a boil over high heat. Once it's going, quickly whisk in the polenta until the mixture is smooth.
Reduce the heat to a low simmer, add the butter, and give everything a whisk occasionally for the next 45 minutes to an hour.
You'll begin to notice that, unlike grits, your polenta won't maintain individual granules of corn meal. Instead, it'll almost take on the consistency of pudding. Savory, savory pudding. At this point it's time to whisk in your cheese.
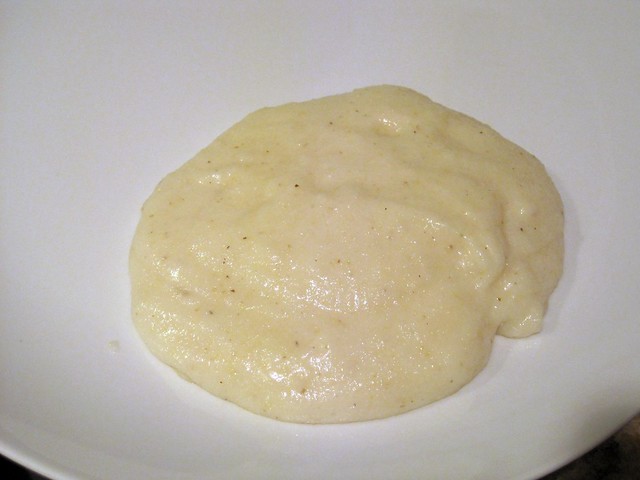
Give it a taste and add salt as needed. Then, plop that goop down on a plate.
Brrr. Sure is getting cold out there, huh? Looks like that long, hot, disgusting summer is finally gone for good, and can I just say? THANK YOU SANTA. And lest you need a kindergarten lesson in the calendar, when summer ends the fall begins. (Speaking of The Fall, has anyone seen that movie? Because it was INCREDIBLE, and I’m not just saying that because The Piemaker is, like, super hot or anything. Which he is. I DIGRESS.)
Where was I? OH YEAH. Autumn. Which brings cooler temperatures and winter squash. Both of which I love. Now, I‘d love to give you about a billion recipes for winter squash, but my boyfriend the picky eater doesn’t like winter squash, so I think I can probably only manage a few, but we’ll start with this one and see what happens. Okay? Okay.
Acorn squash! Acorn squash is a bit of an odd duck, sort of like the illicit love child of a yellow squash and a sweet potato, which means it plays really well with butter and orange marmalade. Yes, you heard me, orange marmalade. Orange marmalade is one of my favorite things on Earth. I like it in my gin, I like it on my rye toast, and I like it on my acorn squash. Just mix two tablespoons of marmalade with one tablespoon of softened butter and proceed as follows.
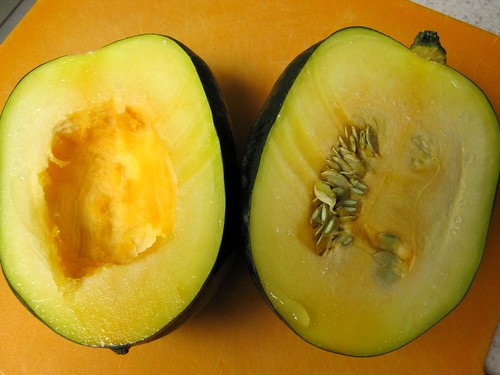
Preheat your oven to 400 F. The prepare the acorn squash but cutting it in half and removing the seeds and strings in the center of each half with a spoon.
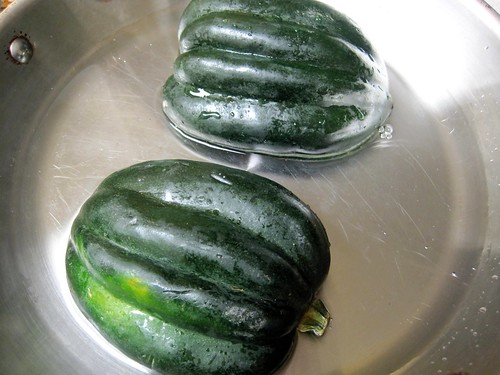
Place the halves cut-side down in a shallow pan or baking dish filled with 1/4 inch of water.
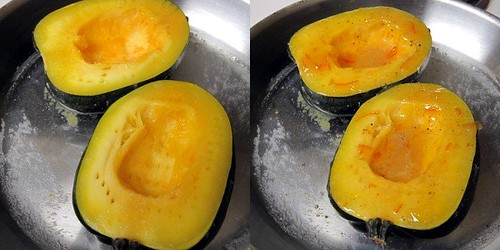
Put that in your preheated oven and bake it for 35 minutes. Then turn the squash halves over, and prick each half several times with a fork. Sprinkle the acorn squash with salt and pepper, and spoon your marmalade mixture over each half.
Broil that up for about 5 minutes or until it’s lightly browned around the edges. And viola! Acorn squash!
I do not make idle threats. However, I am horrifying lazy. Actually, that’s not true at all; I’ve just been traveling a heck of a lot the last couple months so I haven’t had the opportunity to do much cooking. HOWEVER however, revenge is a dish best served cold, as is this one, and long ago I threatened Candice and Heather Anne with this recipe so here it is. NOT that I’m trying to get revenge on them for anything or nothing, it’s just that they were a little aghast at the idea even though it is SO GOOD.
(THAT SAID, we made this for Seth’s mother back in May and, while she didn’t hate it, she informed us that she wouldn’t be making it for herself any time soon. Also that she suddenly developed a love for kalamata olives. Silver lining?)
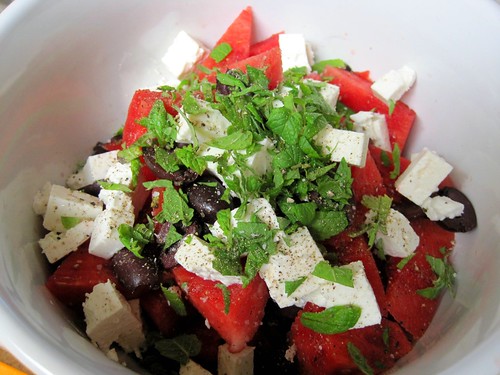
The key to this salad has a lot to do with balance, with playing off salty and sweet and sour, with freshness bouncing off heartiness. And if you’ve ever put salt on your apple or watermelon you’ll know exactly what I mean. (Do other people actually do this? Or is this another weirdo Vietnamese habit I think is normal?) All that nonsense said, I don’t have a whole lot of instruction for you on this one; just(ish) a list of ingredients. Which look like this:
And consist of:
A watermelon (the sweeter the better), cut into bite-sized chunks
A block of feta cheese, cut into smaller bite-sized chunks
I said that the key to this dish is balance, and the key to balance is ratio. So basically you want a quarter to a third the amount of feta and olives as to the watermelon. Does that make sense? MATH IS HARD. What I mean to say is, you want mostly watermelon, with a bit of feta and olive mixed in to add a little salty accent.
After you've carried the two, put all that in a bowl, add a fair bit of the mint, a generous squeeze of lime juice, and a glug or two of extra virgin olive oil. (You can also add thinly sliced red onion to this, but I never do.)
Give it a gentle stir and an initial taste. My guess is that it’s going to need a bit more lime juice, and some salt and pepper. But they’re your taste buds, so you decide for yourself. Then, cover the bowl with plastic wrap and refrigerate it for an hour or two until it’s nice and cold.
And voila. A refreshing salad for a hot barbecue.
(One small note: this salad doesn’t keep well. The salt eventually breaks down the watermelon and turns it into mush, so it’s best to make this the day you need it and not the day before. Consider yourself warned.)
Is it weird for me to do a variation of creamed corn when I have yet to give you a recipe for just plain creamed corn? Yes? No? Do I care? Not really.
I’m back from a week in the Pacific Northwest, a week that was very decidedly NOT hot as balls. And now that I’m back I feel like I was away for 47 years, and oh yeah, it’s also HOT AS BALLS. Because it’s summertime. And summertime means CORMS!
Dear Santa I sure do love corn. It’s something I inherited from my mother, I think, who used to bring home 20 ears from the roadside veg stand, steam them all up in a big ol’ pot, and proceed to eat all 20 ears all by herself.
My boyfriend, however, is lazy. He does not like to eat corn on the cob.
But he will eat corn if I do most of the work for him, which does NOT mean, by the way, that I chew it up and regurgitate it back into his mouth like he’s some kind of baby bird EW GROSS YOU PEOPLE ARE DISGUSTING.
(Winston, unlike many lolcats, appears to have no interest in corms.)
ANYWHO, this is my super-healthy version of creamed corn that I came up with all by myself, and it’s light and fresh and requires very little cooking at all, plus unlike real creamed corn there’s no actual cream involved, just a little creaming of the cob.
THEN! Use a spoon to cream the cob as demonstrated in the following instructional video:
You’re gonna want to do that over a shallow bowl or deep plate to capture all the juices that you scrape out of there. It’s slightly messy work, but it’s delicious work, and delicious is half the battle. What’s a battle? I DON’T KNOW.
Moving on. To the recipe. Which is why you’re here (presumably).
Freshly squeezed lime juice (if you use those bottles of lime juice you’re not allowed to make my recipes anymore), to taste
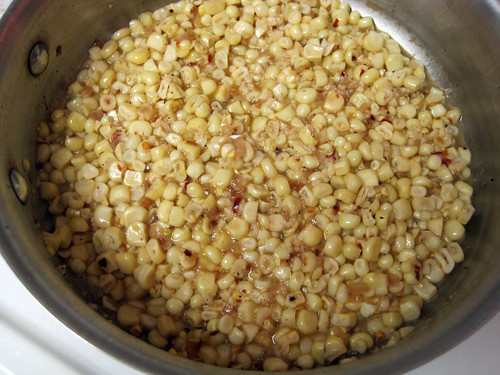
Heat the oil and butter in a medium-sized skillet or saucepan over medium heat. When the oil starts to get shimmery or the butter has stopped foaming, add the onions (for sweeter creamed corn) or shallots (for slightly garlicky creamed corn), a pinch of salt and pepper, and, if you like, a bit of red pepper flakes. I don’t always add the red pepper flakes, but I was serving this with a bit of tilapia and thought the heat would be a nice contrast with the mildness of the fish. ANYWHO, saute all that until the onions/shallots become translucent and start to brown.
Add the creamed corn and a splash of broth/water. The starch from the corn creaming will thicken up the sauce and the broth/water will help the kernels cook evenly. Simmer that until the kernels are tender and the liquid has mostly evaporated.
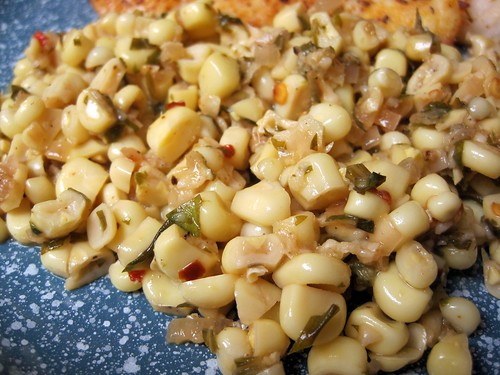
Remove the pan from the stove and add the basil and enough lime juice for bright, tangy freshness. And add a little more salt and pepper if you think you need it.
If all went according to plan, you should now have a light, summery side dish in under ten minutes. If not, well, MY BAD.
Somethong (okay, I could fix that typo but COME ON) about the words cold, noodle, and salad together in a row like that strikes me as... funny? Odd? Somethong? Anyway, let’s get on with it, eh?
How about that thunderstorm, hey? That was some insane shit, I’ll tell you what. Winston was mesmerized by everything blowing around all over the place, and spent the majority of yesterday afternoon with his nose pressed to the window. But I guess that’s what happens when a (relatively) cold front smashes into HOT AS BALLS. (Incidentally, I tried to sit out by the pool on Saturday but my skin melted off after 37 seconds. True story.) Thankfully it’s no longer HOT AS BALLS, but it’s still pretty damn hot out there, so we’ll continue with our tour of dishes that do not require much if any use of heat-creating kitchen equipment. Hence the aforementioned cold noodle salad.
This is a recipe in two parts. We’ll tackle the noodles first. For four, healthy-sized servings you’ll need:
A little more than half of a box of whole-wheat spaghetti
1/4 cup water
3 tablespoons soy sauce
2 tablespoons canola oil
2 tablespoons rice wine vinegar
2 teaspoons dark sesame oil
2 teaspoons freshly grated ginger
1 teaspoon sugar
1 teaspoon crushed red pepper
3-4 cloves of garlic, minced
1 tablespoon peanut butter
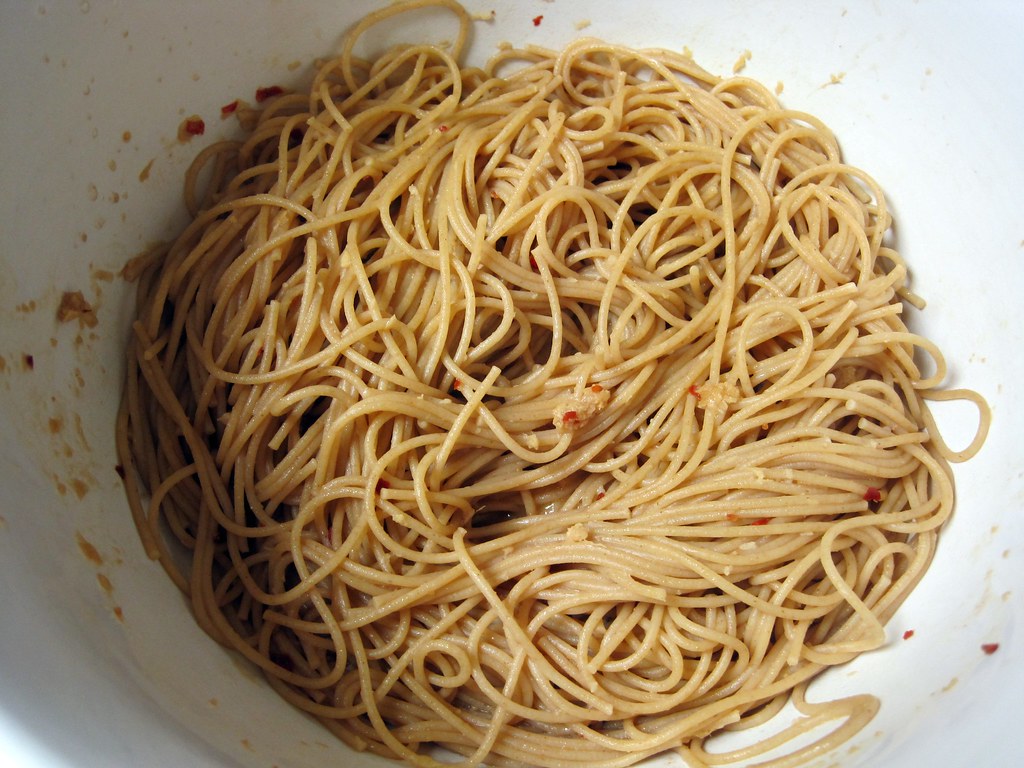
Cook the pasta according to the directions on the box. While that’s boiling, mix up the rest of the ingredients in a big bowl to make your dressing.
When the pasta is cooked, drain it, then rinse it in cold water to stop the cooking process. Drain again and toss the noodles with the dressing in your big bowl.
Then pop that big bowl in the fridge while we tackle the “salad” portion of our cold noodle salad, which consists of approximately 3 cups of whatever veg you like.
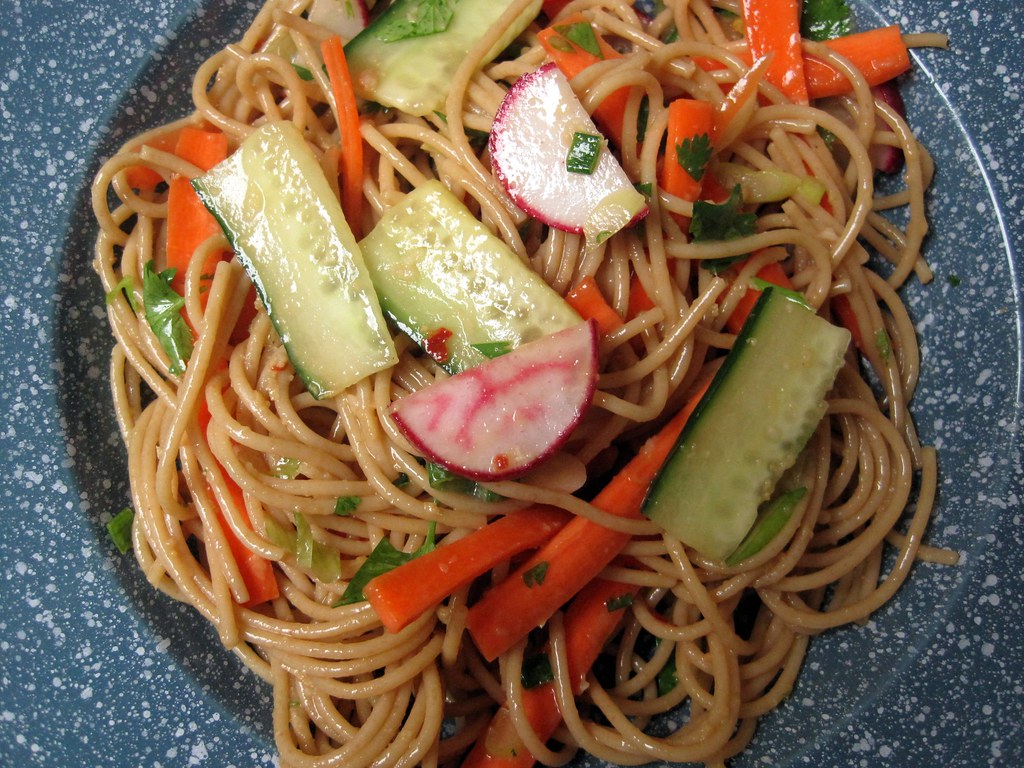
This is what I brought home from the farmers market: carrots, cucumbers, radishes, cilantro, and scallions. Other veg that would be good: baby bok choy, mushrooms, cherry tomatoes, broccoli, cauliflower, etc., etc., etc. BASICALLY, you just want to make sure your approximately 3 cups of veg is cut pretty thinly so that twirling everything onto a fork is no big whoop.
Now toss all that together with your big bowl of dressed spaghetti.
Now you have a choice: you can either serve it right away at room temperature, or you can park that baby in the fridge for an hour or so for it to chiiiiiiiill. Either way, you probably can’t go wrong.
Let's face it: sweet potatoes rule. AND they're super healthy for you, which combined with the fact that they rule means we end up eating them about once a week. And lately this is the way I've been making them, because though this recipe takes a while it's generally low-maintenance and gives me plenty of time to drink an entire bottle of pinot noir all by myself. Because I'm a real classy broad like that.
You'll need:
2 sweet potatoes, scrubbed clean (try and pick out a matching pair to that they'll cook for the same amount of time)
1 tablespoon of butter
1-2 (depending on how spicy you like your food) chipotle peppers in adobo (cans of which you can find in the Hispanic foods section of your local grocery store)
salt and freshly ground black pepper to taste
Put an oven rack in the middle position and preheat that baby to 450°F. (Usually I just use the toaster oven. Seems to work just fine.) While that's going, line a baking sheet with foil and prick each potato several times with a fork. (The foil will catch all the sugars that seep out of those holes you just made and make clean up so much easier.)
Bake your sweet potatoes on the prepared baking sheet until they are very soft. This should take about an hour to an hour and a half.
Remove the potatoes and reduce the (toaster) oven temperature to 350°F.
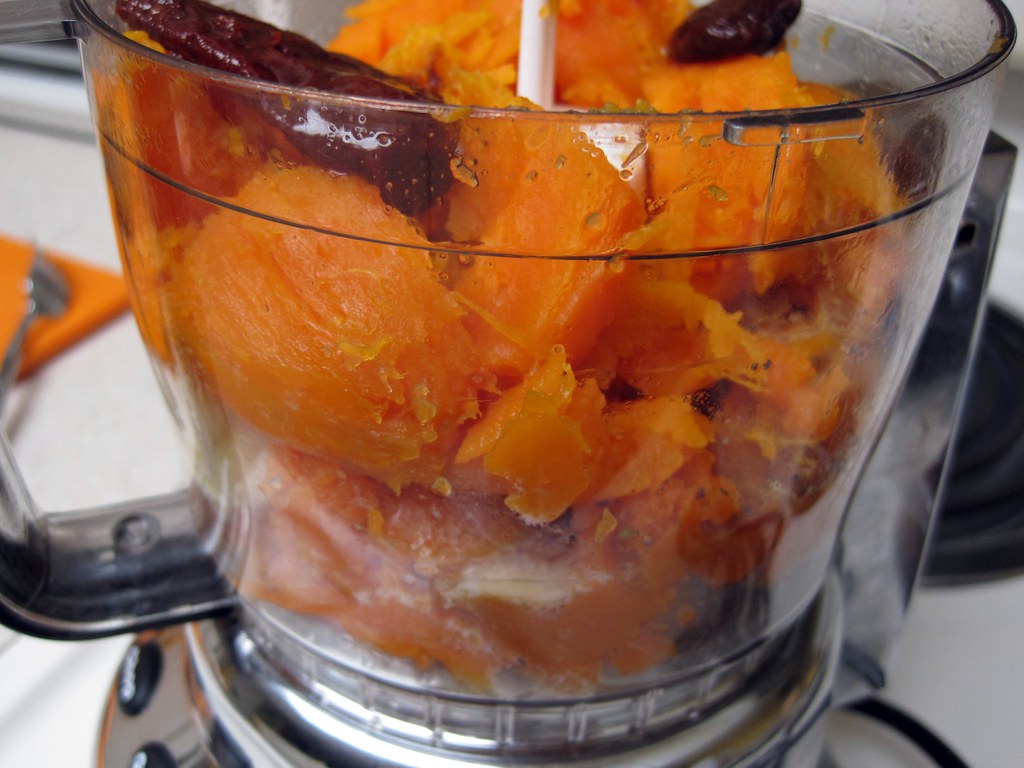
As soon as the potatoes are cool enough to handle, scrape the insides into the bowl of a food processor, and add all of your remaining ingredients.
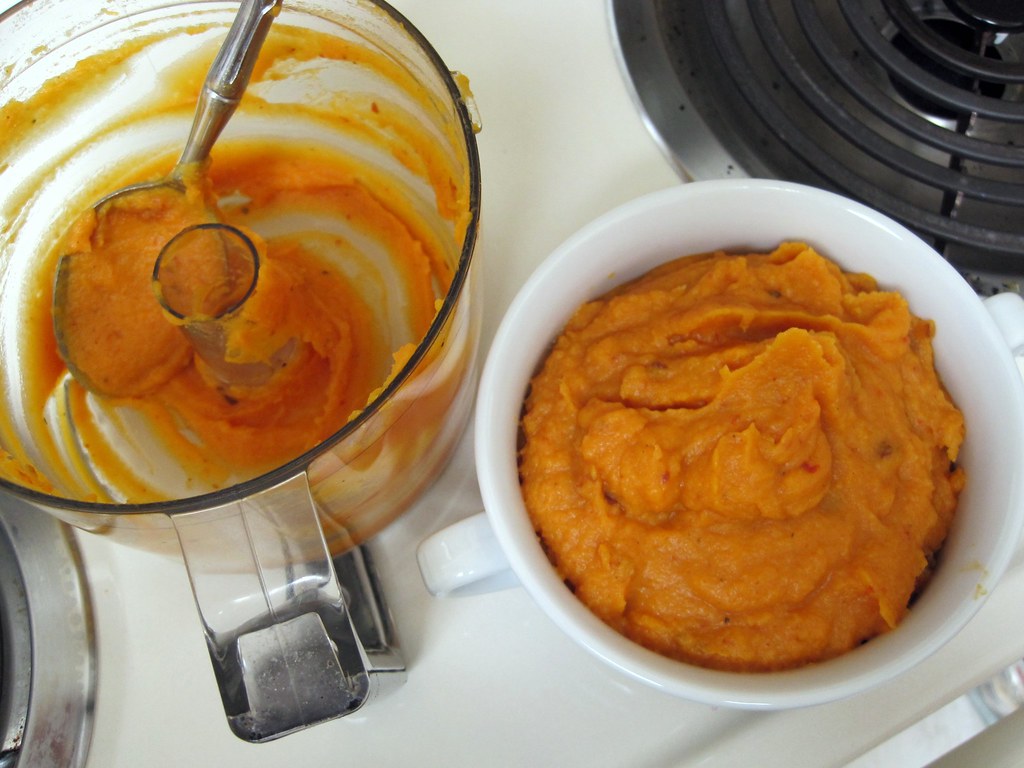
Then give it a whirl until everything is whipped up all together.
(If you don't have a food processor, you can use a stick blender or even a regular blender, though it'll probably be a whole lot more difficult to get your whipped potatoes out of a regular blender. OR! You can mash the peppers up with a fork into a fine paste in a large bowl, then add the other ingredients and whip that all together with a hand mixer.)
(You might also be asking yourself what you are going to do with the rest of those peppers from that can. Well, I have no idea what you are going to do with them. But what I do with them is I put them in a small, freezer-safe container, and I stick them in the freezer. Then, whenever I make chipotle-whipped sweet potatoes I take that small, freezer-safe container out of the freezer when I put the potatoes in the oven. By the time I need peppers to throw in the food processor, they're thawed out enough so that I can pull a couple out and put the rest back into the freezer. And then I repeat that process until I'm all out of peppers, at which time I buy a new can and start all over again. But feel free to do whatever it is you want to do with them.)
Spoon out your puree into an oven-safe receptacle of some kind.
Then bake your whipped potatoes until they're hot, for about 20 to 25 minutes. Then serve. And hopefully enjoy. But if you don't then, meh, there's nothing I can really do about that now can I?
Confession: I have a love-hate relationship with Michael Chiarello. Seriously, I have no idea if I love the guy or I hate him and his oh-isn't-Napa-just-the-end shut-the-fuck-up-already lifestyle. But then I saw him make pea-whipped potatoes on his television program, and I think perhaps beneath his is-he-or-isn't-he? exterior, we might just be kindred spirits. Because I love mashed potatoes. And I love mushy peas*. But to mix mashed potatoes with mushy peas? BRILLIANT!
* We'll actually be doing a mushy pea recipe that is slightly different than what you will be seeing here. Sometime. In the future. Promise.
So here's what we need:
1 Idaho russet potato
a little warm milk or cream
a little melted butter
1 cup of frozen peas
maybe a bit of olive oil
salt and pepper to taste
Yeah, now I guess you know what I mean when I say "all measurements are approximate," because I have no idea how much of anything this is going to take. It's all a matter of preference. So just go with it, okay?
POTATOES!
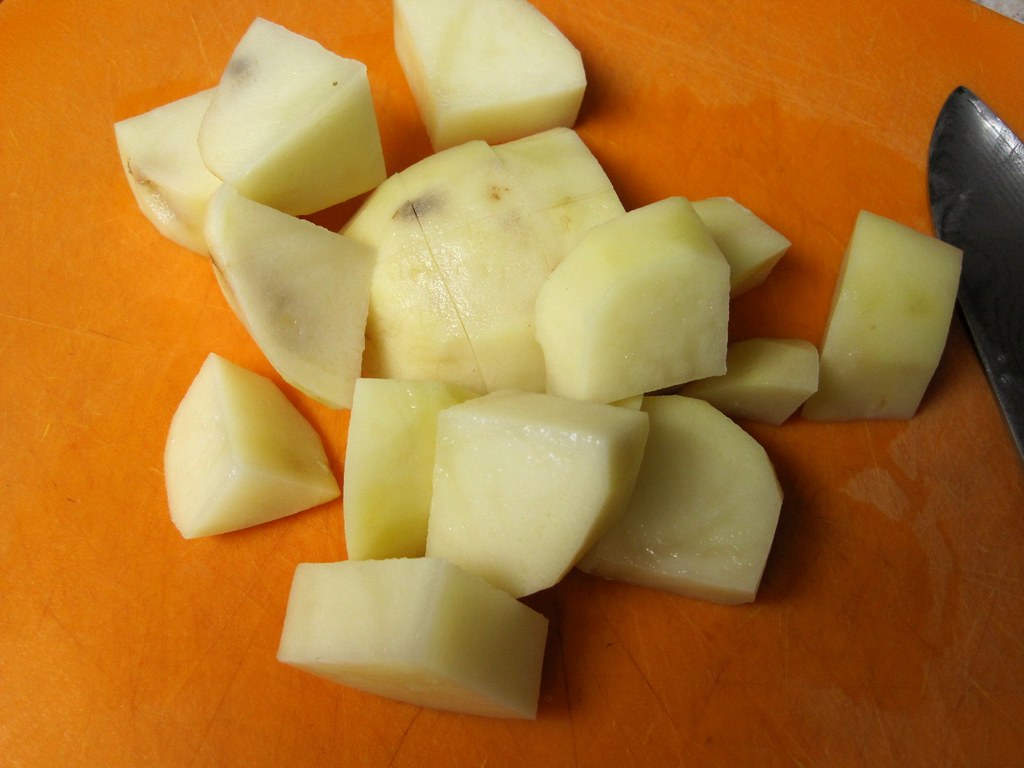
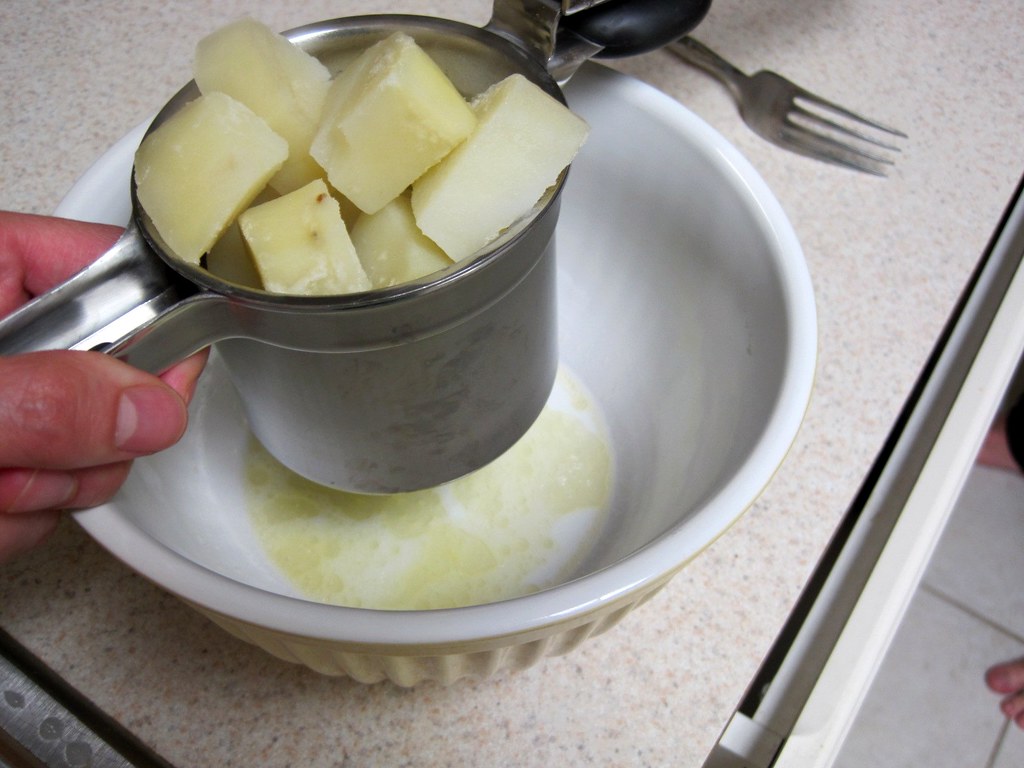
First, peel and dice your potato into about 1-inch cubes.
Next put your potatoes in a pot and cover them with cold water. Add salt. Bring the pot to a boil over high heat, then reduce the heat to a gentle rolling boil and let that roll along gently until your potatoes are soft enough to stick a fork in them. But not so soft they are falling apart, because then you'll have some problems with the next part, which is draining the potatoes in a colander. So drain your potatoes in a colander, and if you have a ricer or masher now's the time to get it out.
Hopefully while your potatoes were rolling gently you got yourself a bowl and added a little milk and/or cream and/or butter to the bowl. (Start with about 1/4 cup of milk and a tablespoon of butter.) And hopefully you heated that bowl up in the microwave or something until everything got warm. Because you need that now for your potatoes.
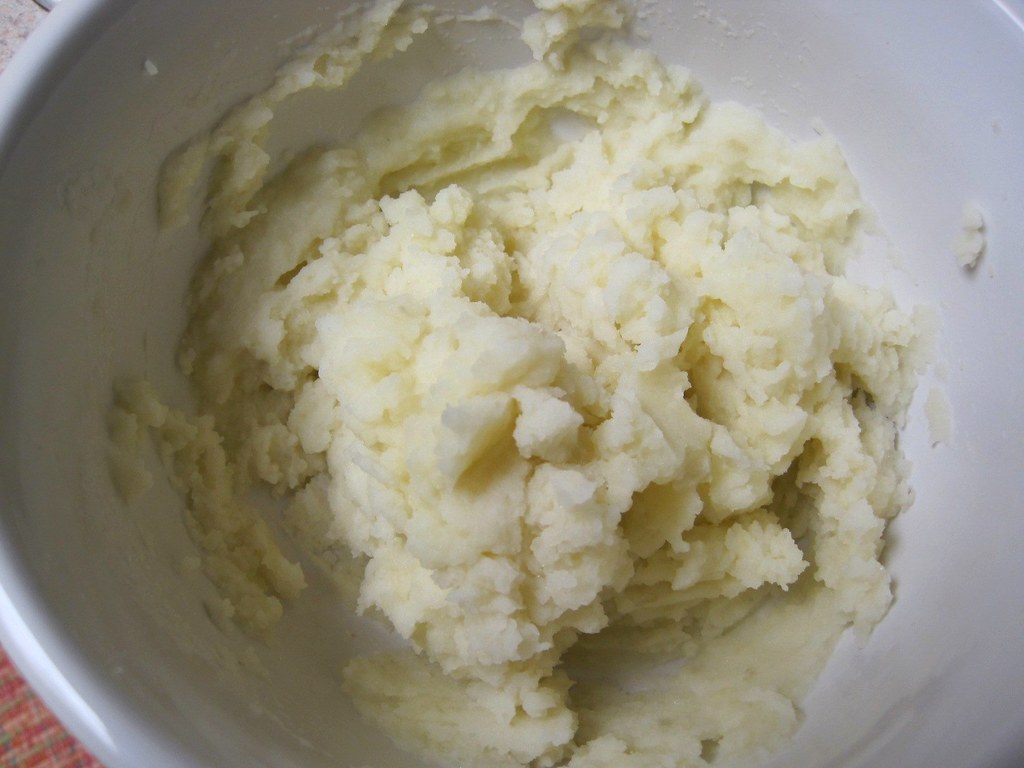
So get your potatoes in the bowl, and mix/mash that all up until it's creamy, and if it's too dry add A LITTLE more milk or cream at a time until you get it to the right consistency. And when I say "little," I MEAN little, because you can always add more if you need it BUT YOU CAN'T TAKE IT BACK OUT AGAIN IF YOU ADD TOO MUCH. The importance of this should be evident by the caps lock, but just in case it isn't, I have added this sentence. To point out the importance of that stuff up there written in all-caps.
Add a little salt and pepper to this and, hey! Look! You made mashed potatoes!
BUT WE'RE NOT DONE!
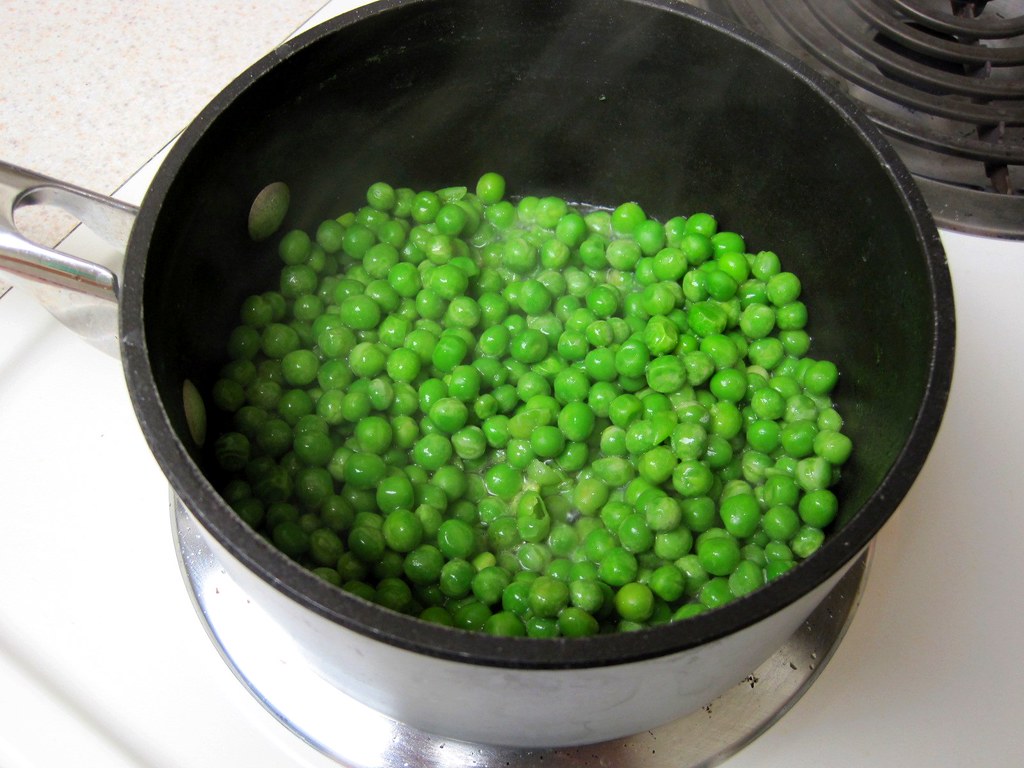
Rinse out the pot you just used to boil up your potatoes in and add your frozen peas. Maybe a little olive oil for extra flavor if you like. Put the lid on that baby and let everything steam over medium-high heat until the peas are tender.
Now put those peas in a food processor with a pat of butter and blend it all up until it's smooth. (A stick blender also works well for this, but I broke mine sometime after my iPod died but before my camera, DVR, and laptop hard drive bit the big one. Apparently there was a month in there when I did nothing but give off electronic-destroying EM radiation. I could have been one of the Watchmen!)
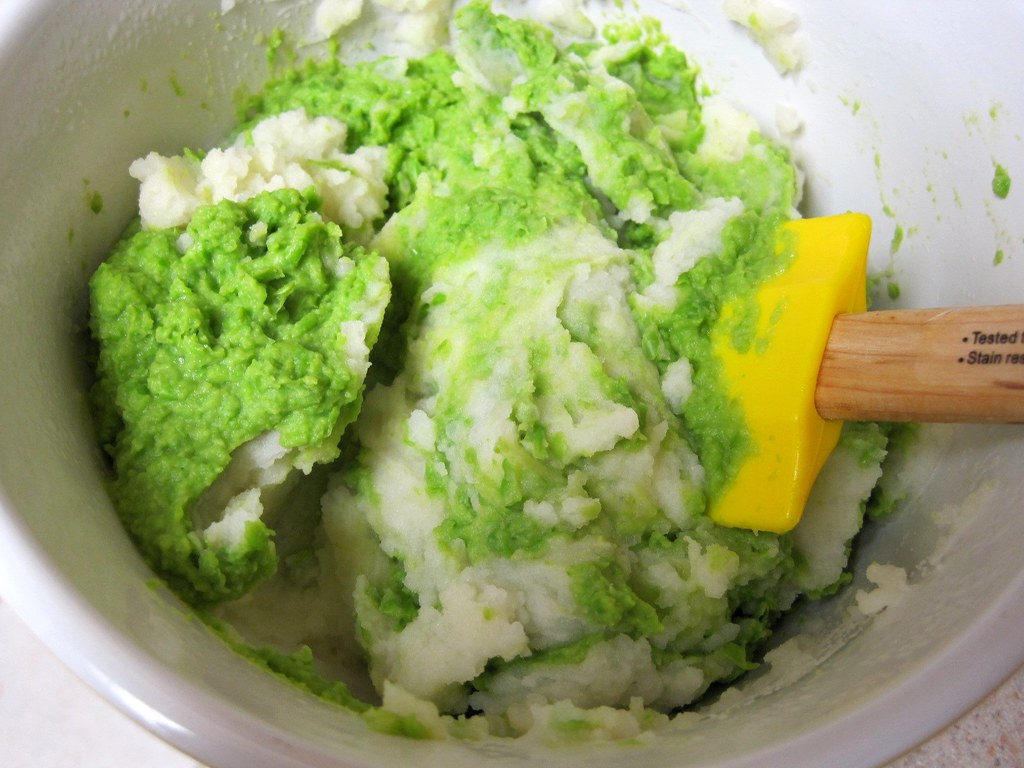
Here's where things get tricky: dump the pea puree into the mashed potatoes and stir it all up until combined.
Give it a taste. If it needs more butter, add more butter. If it needs more salt and pepper (which it probably will), add more salt and pepper. Then, serve. And think about Michael Chiarello. Or, you know, don't. I can't help it. I AM OBSESSED.
Way back when we roasted a whole chicken with root vegetables we threw some fennel in there because (a) I told you to, and (b) fennel is DELICIOUS. But what if you want some delicious fennel but you're not roasting a whole chicken? Like, what if you're grilling up a steak or something and you're thinking to yourself, "Man, some roasted fennel would be SO DELICIOUS with this?" Well fear not, because roasted fennel all by itself is a thing. And I'm gonna show you how it's thung.
For two servings you'll need:
1 large fennel bulb, trimmed and sliced
olive oil
balsamic vinegar
salt and pepper to taste
First off preheat your oven to 400 F.
Now to trim and slice your fennel. Normally when you bring fennel home it looks like this:
Fennel fronds are great. I like to make a bouquet garni with them whenever I make fish soup. They're great in salads. They are not great roasted. So cut off the stalks and trim a bit off the root-end of your bulb.
Next cut the bulb in half. You'll notice the core coming up through the bulb from the root, and while the core keeps your layers of fennel together, it's not exactly edible. I mean, it's not poisonous or nothing, it's just really tough and stringy and NOT delicious. So cut your halves in to quarters, and again into eighths, and then trim out most of the core of each slice with the tip of your knife, leaving just enough to keep your fennel layers together. Like this:
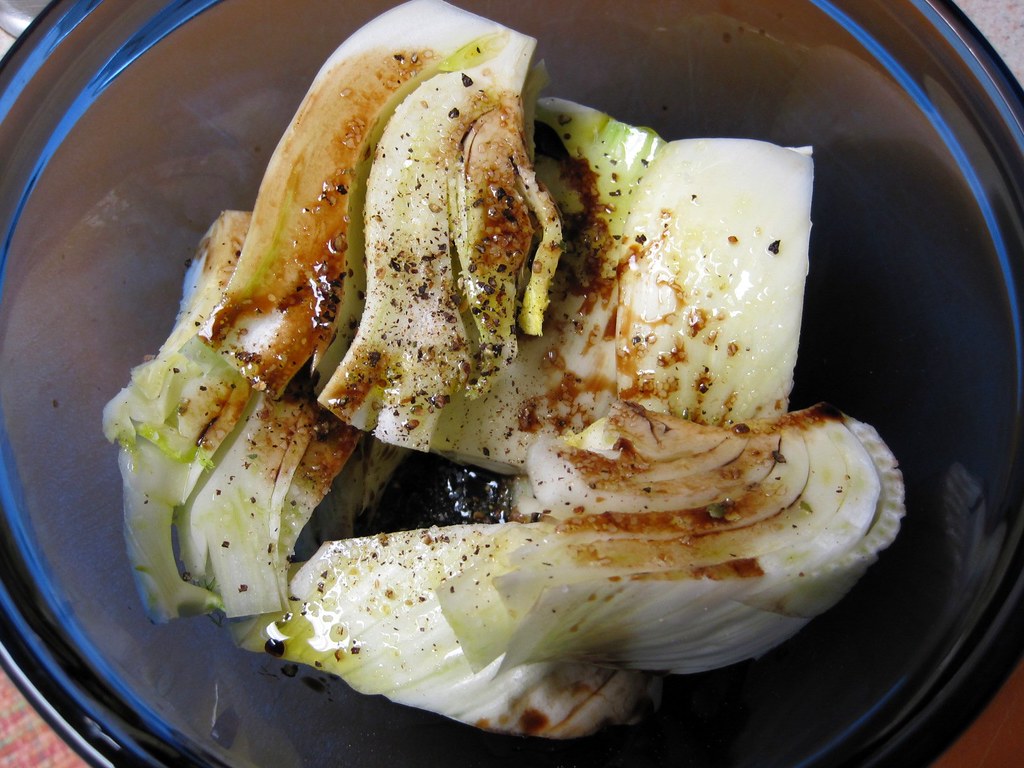
Thankfully, the hard part is over, because all you have to do now is throw those pieces into a bowl, then add a couple glugs of olive oil and balsamic and some salt and pepper.
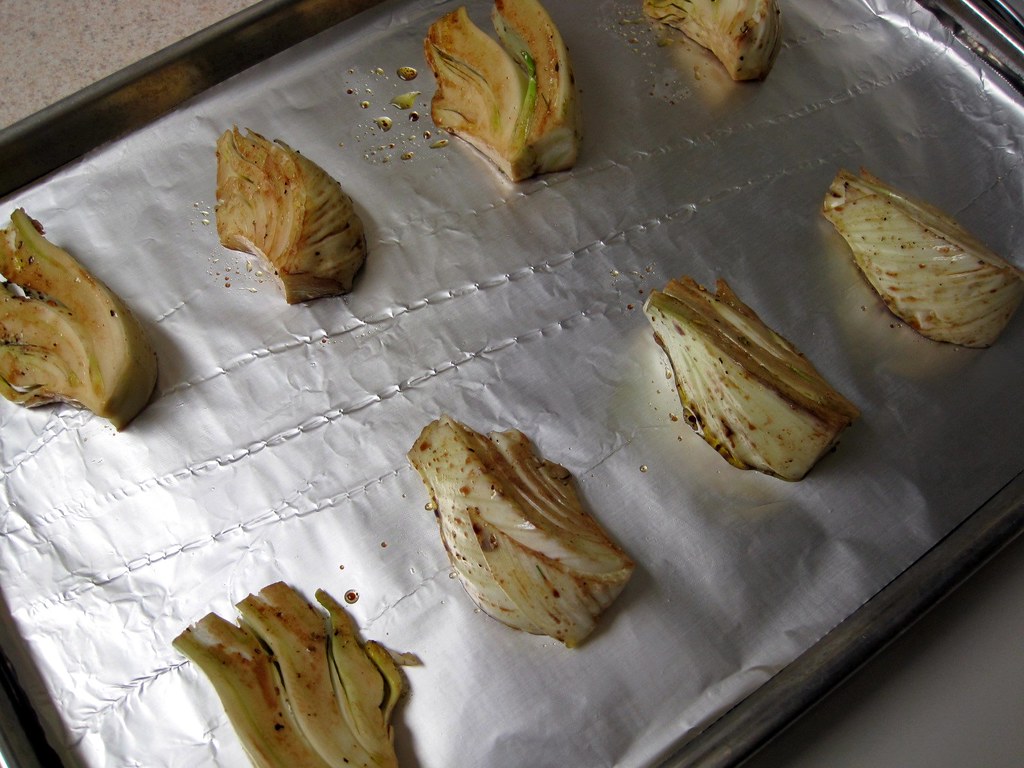
Coat each piece evenly and lay them out in a single layer on a half-sheet pan.
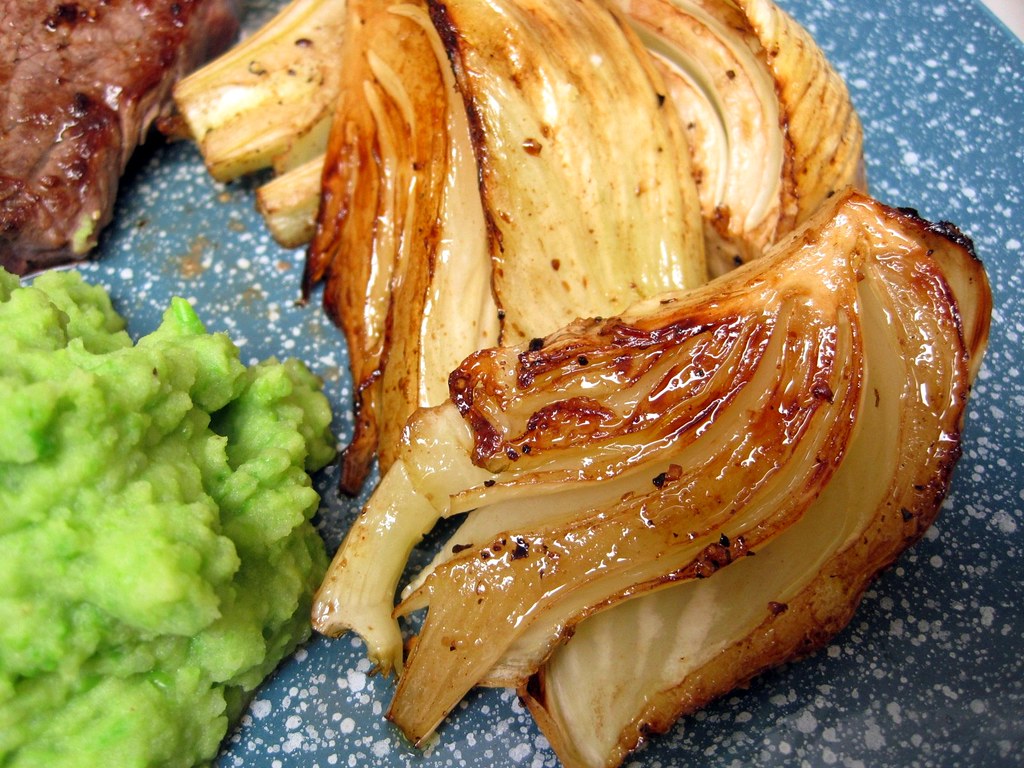
Stick the pan on the middle rack of your pre-heated oven and let it roast for 20 minutes. When it's done, you're done!
Cooking for boys who claim to hate vegetables is SO WORST. It's like, give me a freaking BREAK already, I'm trying to do something good for your freaking colon so just eat the goddamned cauliflower, you know? But that's the thing about boys; they make no sense.
That's why I hereby give all y'all permission to be SNEAKY.
And that's exactly what roasted cauliflower is. Sneaky. One could even call it CRAFTY. Because roasted cauliflower tastes nothing like cauliflower. It tastes like french fries. But BETTER. Better, better french fries. I LOVE BETTER FRENCH FRIES.
Ahem.
Your shopping list for two is pretty simple. and pretty much consists of the following:
1 head of cauliflower
A couple glugs of extra virgin olive oil
Salt and pepper
That's it.
Now go and preheat your oven to 425 F. Now unwrap your head of cauliflower and remove any outer leaves, and trim the bottom off the stem to discard any brownish/blackish spots. As soon as you're done with that set your head of cauliflower stem-side down on a cutting board, and marvel at how freakishly brain-like that freaky-deaky vegetable looks. Then pull out your chef's knife and prepare to audition for Shaun of the Dead 2: Cooking Boogaloo.
Slice your brain--I mean cauliflower--into approximately 1/4-inch sections.
Remove these to a large bowl and dump a couple glugs of extra virgin olive oil over them. Then add a few pinches of salt and pepper, and gently toss the slices so they are completely coated but still (for the most part) intact. Spread the cauliflower into a single layer on a half-sheet pan.
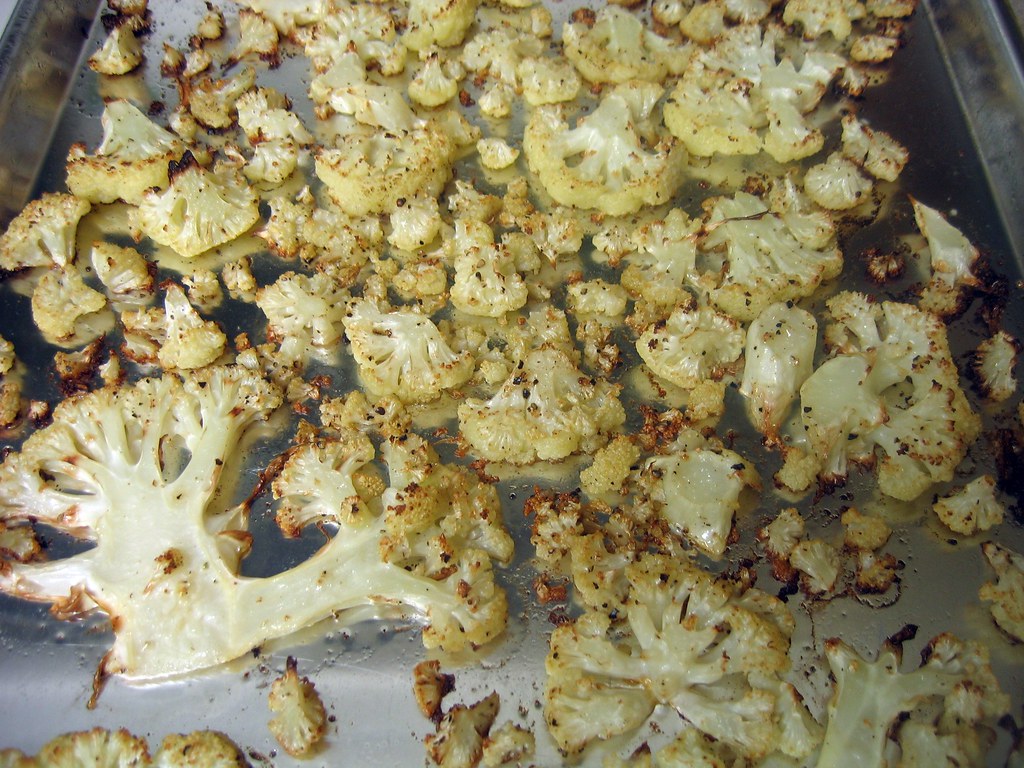
Once the oven has preheated, stick the tray in and let it roast for about 20 minutes. Barring any major catastrophes (they have been known to happen) it should look about like this:
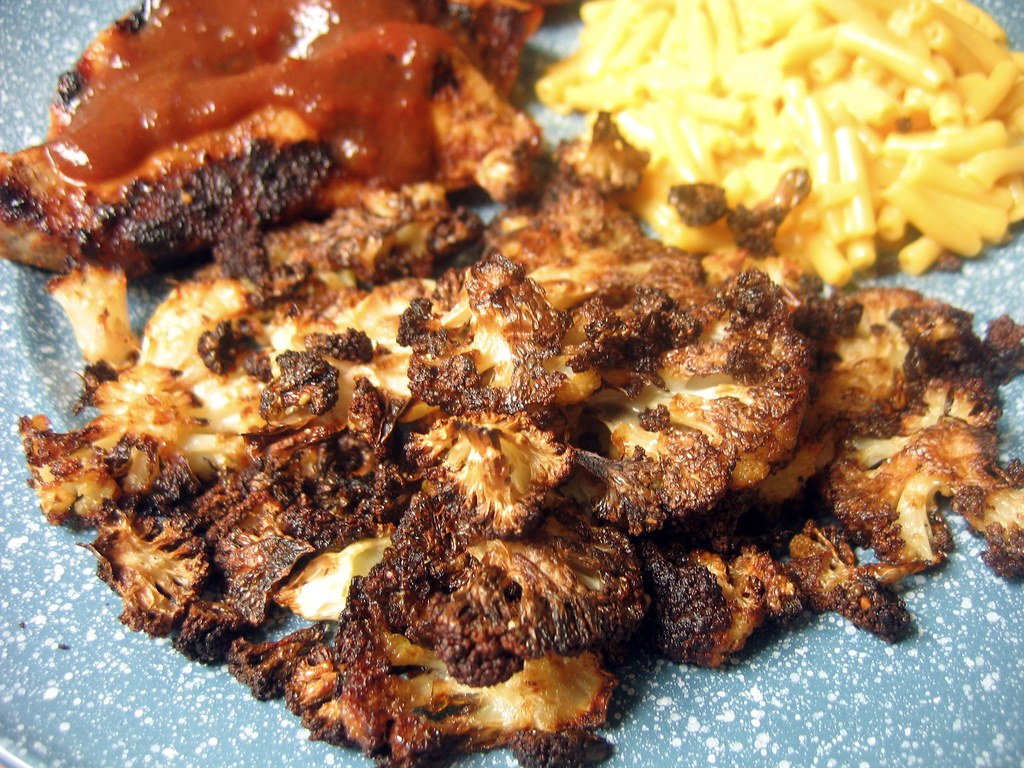
Use a spatula to flip the pieces over, then stick them back in the oven for another 20-30 minutes, until they look like this:
(That would be golden, brown, and delicious.) Now pile those on a plate with, what is that? Barbecued chicken and macaroni and cheese?
Tamasked for variations and I aim to please, but I'm not sure if she keeps kosher or not so if she does then OOPS. I guess you can omit the bacon if you want but OH MY GOD WHY WOULD YOU WANT? Except for that whole "God" thing I guess. Whatever.
So yeah. Another way I make the Brussels sprouts. And just in time for your Thanksgiving feast! Although you might need to double the recipe or something depending on how many people you're having over. Me? Just my mother and my sister and my boyfriend and my cat. But I'm not making this anyway, because I think we're doing Vietnamese for Thanksgiving on account of my mother and my sister coming to visit, and anyway this wouldn't be enough unless I doubled the recipe because this feeds two:
1 lb. Brussels sprouts, trimmed and halved
2 slices of bacon, sliced into 1/4-inch slivers
1 small shallot, sliced
1-2 garlic cloves, minced
1/2 tbsp. extra virgin olive oil
1/4 cup water or broth
Squidge of lemon
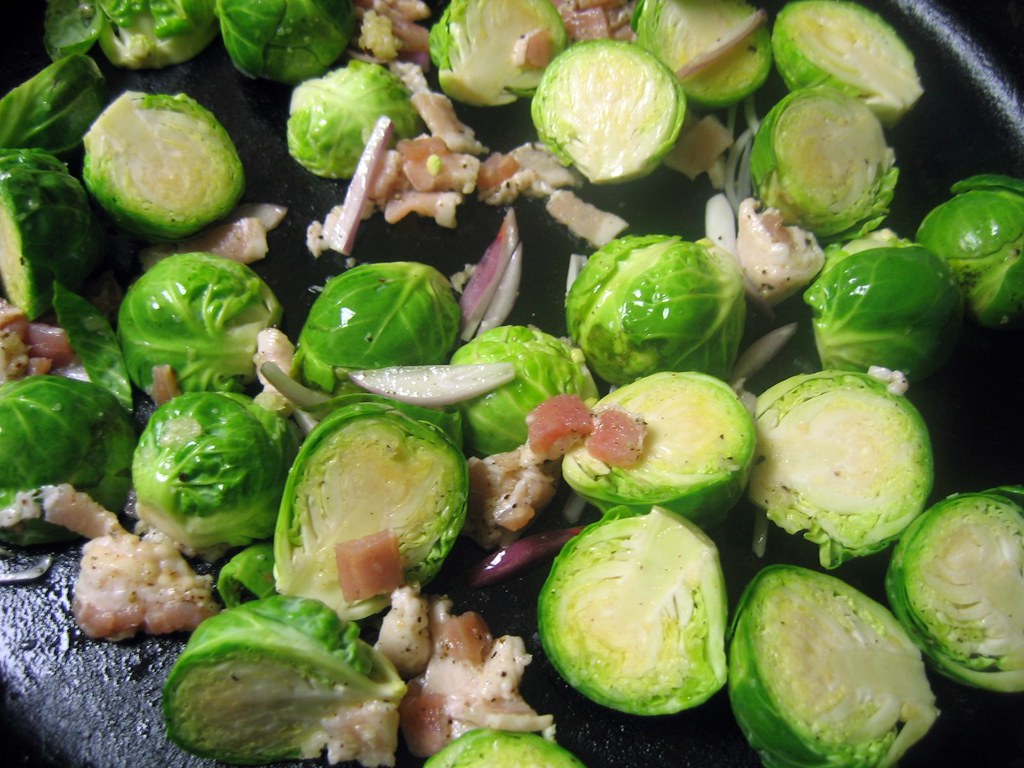
Preheat your oven to 450 F, then toss the first five ingredients together with some salt and pepper and spread it all out in a single layer in a large skillet or baking dish.
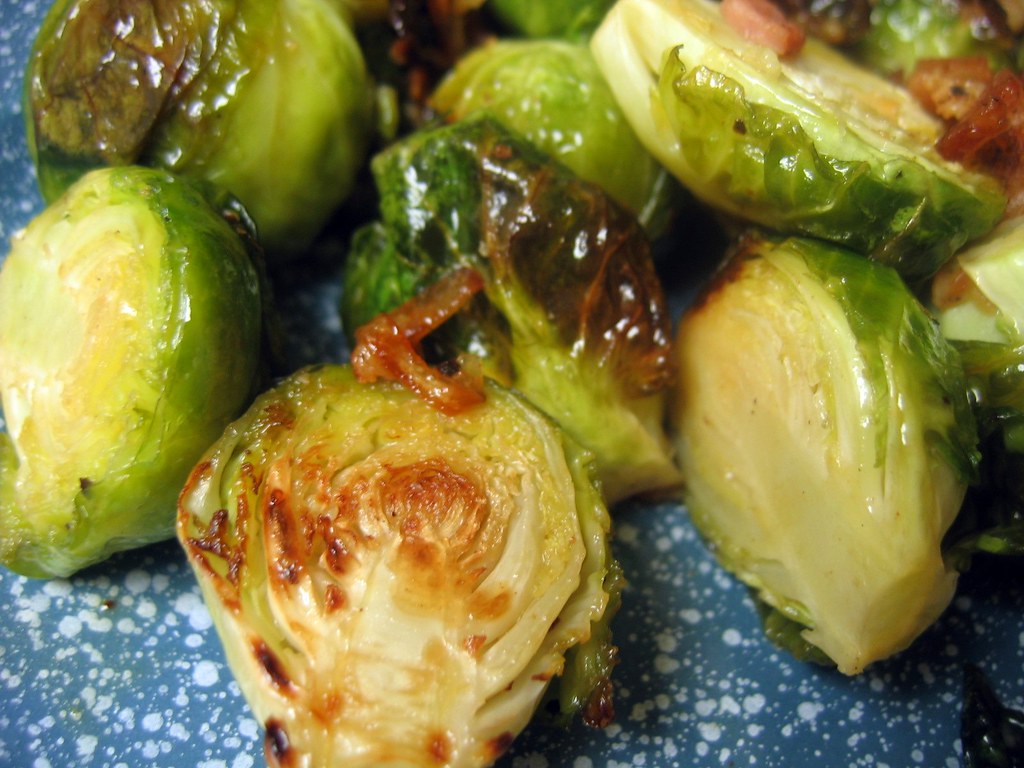
Roast all that in the upper third of your oven, stirring once after about ten minutes. Give it another ten to fifteen minutes more, until your sprouts are tender and browned at the edges.
Pull the pan out of the oven and stir in your water or broth, making sure so scrape up any brown bits from the bottom of the pan (brown bits = flavor!). Add your squidge of lemon and serve.
Hey there, remember me? I'm the girl who used to cook and then take pictures of what she was cooking and then write about those pictures of what she was cooking and then post that writing about those pictures of what she was cooking right in this very web space. Well, FUNNY STORY. Actually, it's not funny so much as it is ANNOYING, because this camera I've been using? The one being held together by rubber bands? Well it's not so hot, actually. Actually, it kind of sucks. I sucks so bad in fact that I haven't really been able to get any decent shots off of what I've been cooking so that I could write about those shots of what I've been cooking and post that writing about those shots of what I've been cooking right in this very web space.
Also, I haven't really been cooking that much.
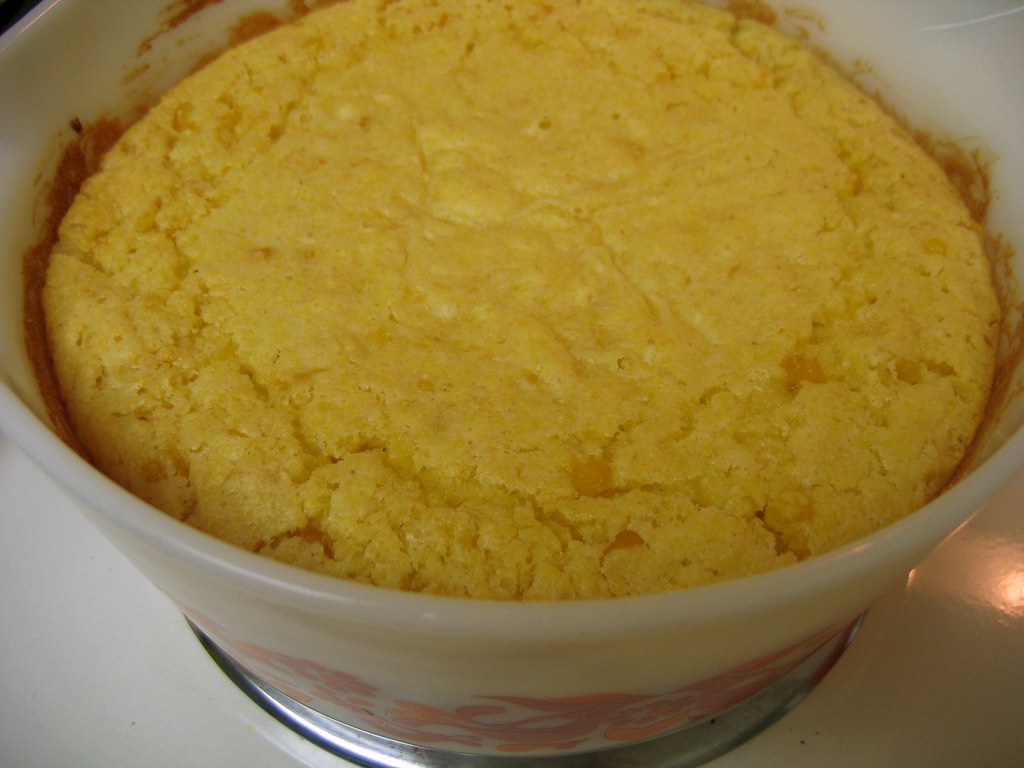
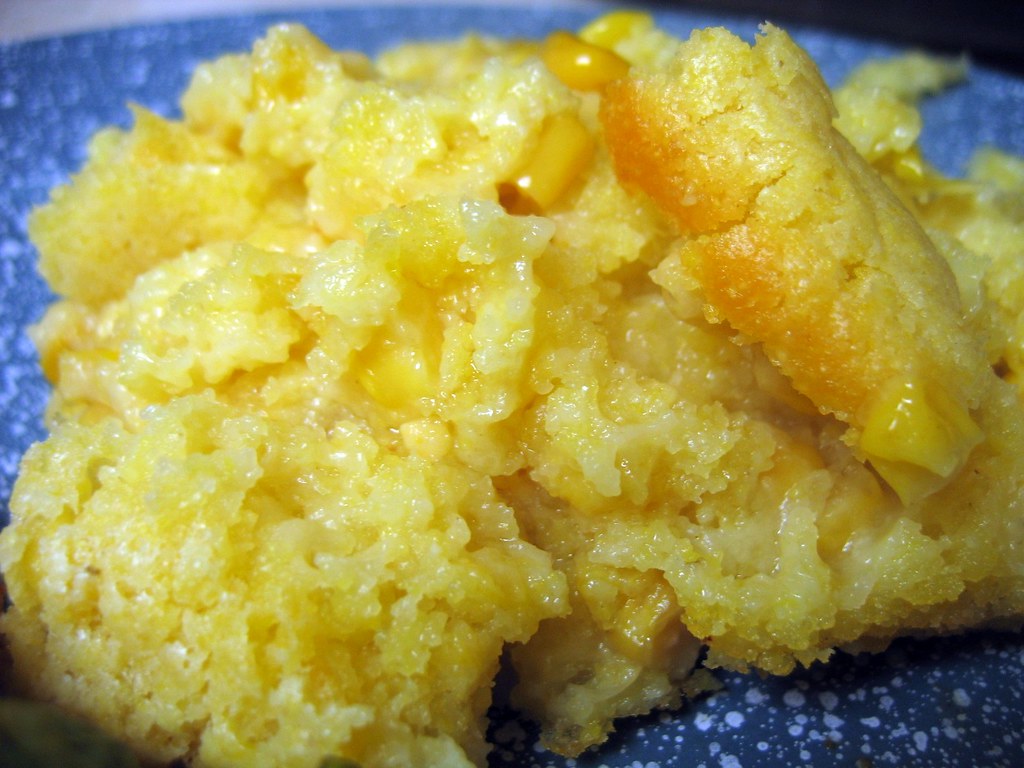
HOWEVER, I did cook on Sunday night and this is what I cooked, my BFF's cousin's corn pudding, a recipe Paula Deen would be so very proud of (you'll see why), a recipe that would be perfect for your Thanksgiving feast. Because it's delicious. And easy. TWSS.
So here's what you'll need:
1 can of corn, drained
1 can of creamed corn
1 stick of melted butter
8 oz. of sour cream
1 box of Jiffy corn mix
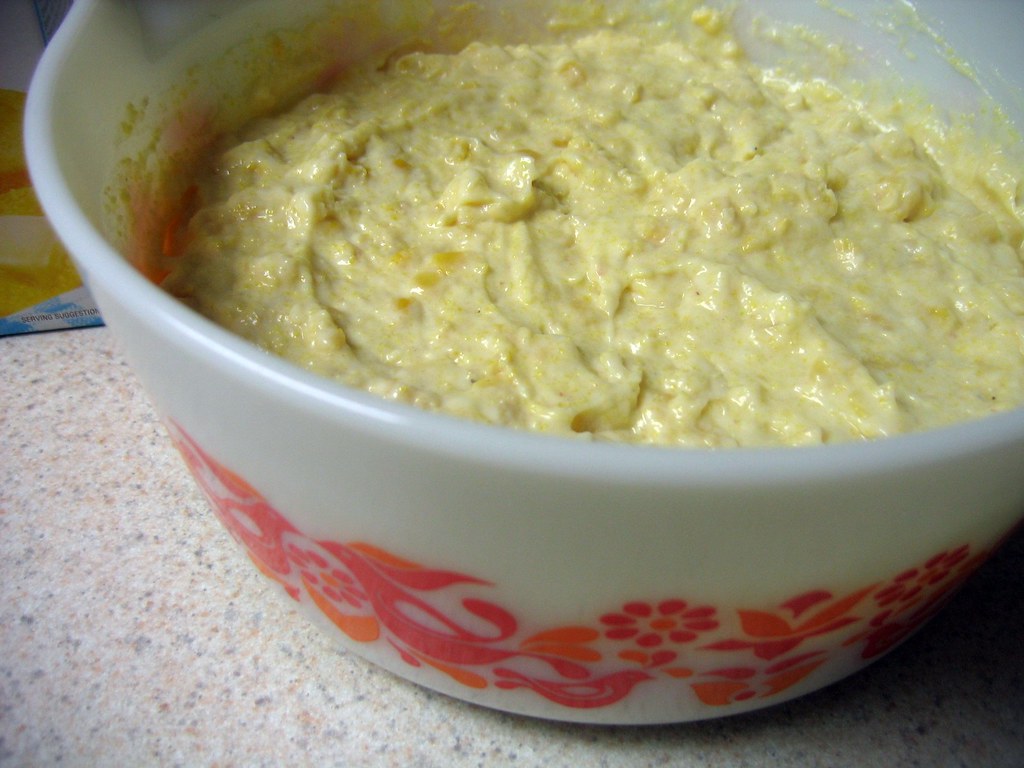
Mix all that together in a casserole dish. (Mine's vintage Pyrex found in etrets's etsy shop.)
Bake that in a preheated 325-degree oven for an hour to an hour and fifteen minutes. (It should still be goopy and jiggly in the middle.)
And then dish it out onto dishes and serve!
(Insider's tip: this goes really well with a bowl of chili.)
Bonus!
There's lots of stuff you can add to this basic recipe, stuff like minced chives and jalapenos and shredded cheese and pretty much anything you can think of that goes good with cornbread. So don't forget to do that! You know, if you want to. Whatever.
Double Bonus!
Here's a picture of Schilbo getting ready to put some in the oven!