5.10.11

About Mirin-Glazed Salmon

There's not a whole lot to say about this recipe other than it's Winston-approved, which is weird because he has almost no interest in people food (we trained him good when he was a wee little baby).

Resistance is futile

(Sorry, I couldn't resist.)

Seriously though, unless it's, like, the water from a can of tuna (but not the actual tuna), the orange powder on a Cheetos Puffs Cheese Flavored Snack, butter, or olive oil, he wants no part of whatever you've got. Until, that is, I made this this other night, at which point he jumped up on the dining room table, started eating the salmon right off my plate, and when he was done with that, walked over to Seth's plate and started eating his salmon, too. (Diagram that, Sister Bernadette!)

Oh, and we also liked it.

Here's what you need for the marinade:

  • ½ cup mirin
  • ¼ rice vinegar
  • 2 tablespoons soy sauce
  • 1 tablespoon peeled and grated ginger

Which is this, all mixed up (don't know what to do):


Then you just marinate your salmon fillets in there for at least 20 minutes like so:


And when that's done you pat your fillets dry and then cook them like we did before until they look like this:


And then you try to eat it before your cat does.

26.9.11

About Meatloaf

I don't know if you ever get this way--I don't know your life--but sometimes I just really, really, really want meatloaf. Like, a lot. Like, more than I've ever wanted anything in my whole entire life (even more than that red Corvette Stingray I really, really, really wanted when I was ten). So what's a girl supposed to do? Why, make meatloaf of course!

But here's the thing; meatloaf is kinda tricky. I mean, not that it's super hard to make or anything (it is just a log of meat, after all), it's just that I tried making meatloaf for years and years before I settled on a recipe that was just right. And oh, how right it is. And, AND! you're in luck, because I'm a-gonna spare you those years and years of wandering the desert like some sort of traveling Wilbury and share with you my perfect, perfect meatloaf recipe.

First up, pour yourself a glass of wine. Like so:


Then, 
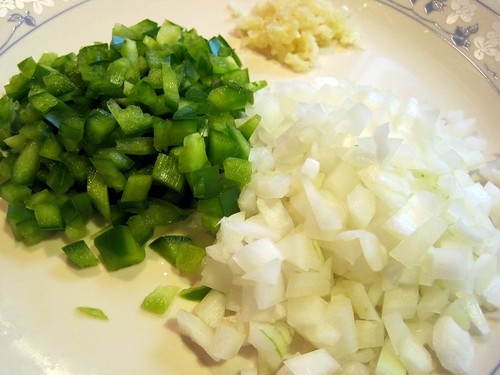
get your shit together. And that shit is:
  • 1 tablespoon extra virgin olive oil
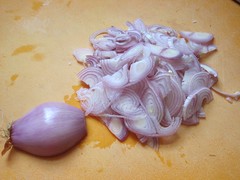
  • ¾ cup finely diced onion (about half a medium onion)
  • ½ cup finely diced green pepper (about half a small pepper)
  • ½ teaspoon kosher salt
  • 1 teaspoon freshly ground black pepper
  • ½ tablespoon minced garlic
  • 1 pound ground meat of your choice
  • 2 slices sandwich bread
  • ⅔ cup barbecue sauce
  • 1 teaspoon chili powder
  • ½ teaspoon ground cumin
  • big pinch of cayenne powder
  • 1 egg

(Quick aside: I normally make this in all of its full-sized glory so's to have lots of leftovers for sammiches and stuff, but this time I only made a half batch, which is what you see here. For your full-sized loaf just double the recipe and follow the additional notes I'll try to remember to include below.)

Step The First (after the wine and the getting your shit together and whatnot): Preheat your oven to 350 F.

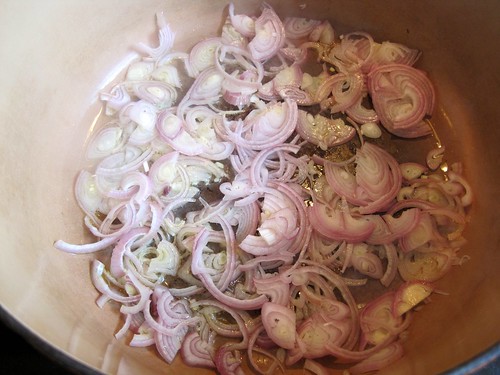
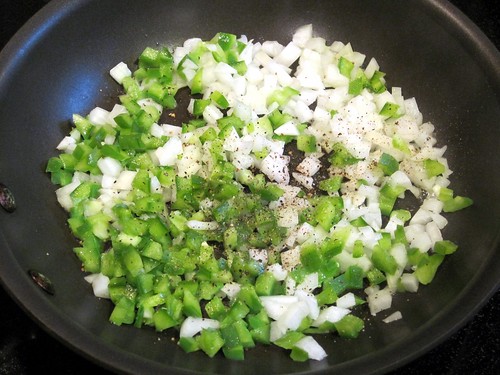
Now, here's your veg:


Heat up the olive oil in a medium skillet until it gets all shimmery, then throw in the onion/green pepper portion of your veg with a pinch of salt and pepper like so:


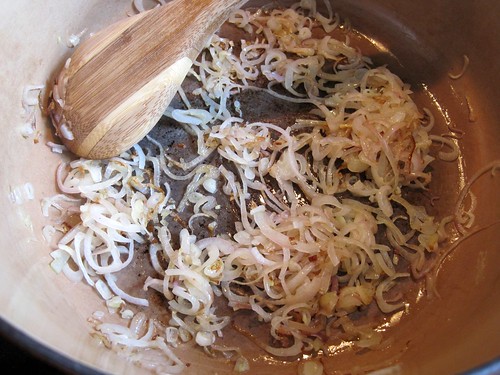
Saute that for a few minutes until your veg is soft and the onions have turned translucent like so:


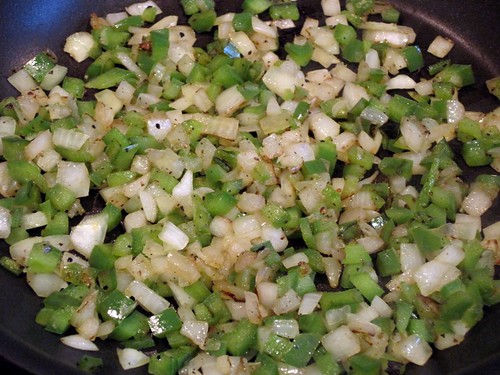
Add in the garlic and stir that up for about 30 seconds, and then pull your pan off the heat while we talk a little bit about MEAT. (I don't know why I wrote MEAT like that; just seemed like the appropriate thing to do.) MEAT.

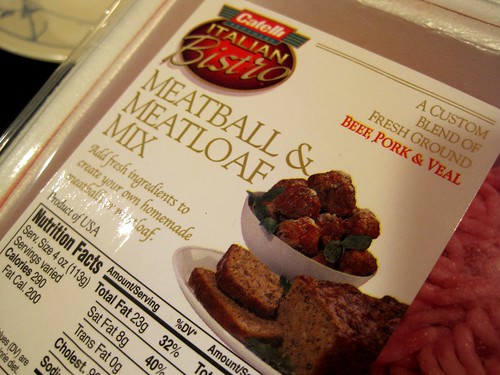
You can use any combination of ground meat you want for this really, just be aware that turkey and chicken will end up a lot drier than beef or pork. When I make a big meat log I usually use a pound of ground turkey and a pound of ground beef, but this time I found this magical package in the grocery store:


(And I also know that we could have a friggin' year-long conversation about the evils of the ground meat industry, so by all means, grind your own meat. I don't have a meat grinder because no one bought one for us off our gift registry so I guess we'll just take our chances since we haven't died so far as far as I can tell. I mean, who knows, I could be writing this from beyond the grave OMG AM I A GHOST? WTF.)

While we're talking, we might as well talk about barbecue sauce too. Now, I know I could make my own barbecue sauce from scratch--and you're welcome to do just that--but why would anyone do such a thing when this is in the world?
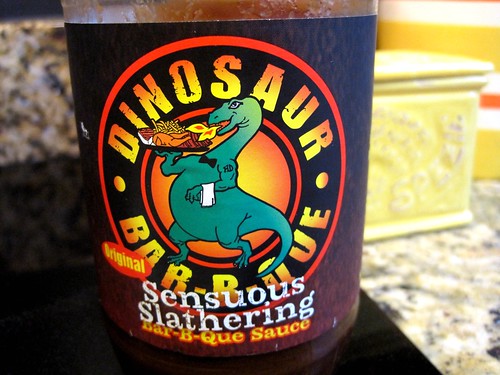


(Seriously guys, Dinosaur Bar-B-Que is so fucking good.)

Where were we? MEATLOAF. RIGHT.

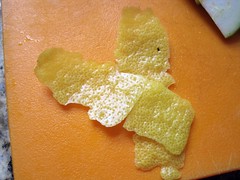
So those slices of bread.


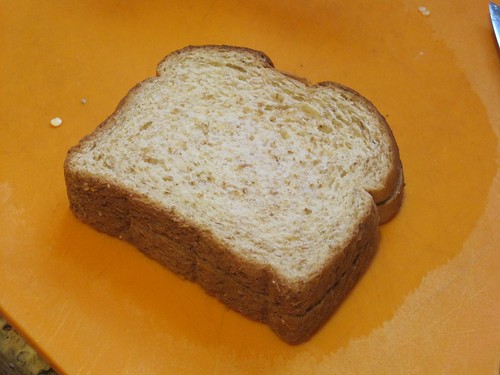
Those are the ones. Take them to the kitchen faucet and soak them down with water, the squeeze that water back out like you were squeezing a sponge.


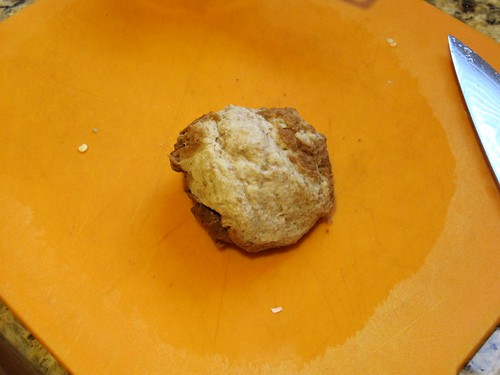
Yeah, like that. Now chop your bread spit-ball up into little pieces like so:


Fun!

And with that, we're ready to start assembling (initially I typed "assumbling" which sounds like a whole lot more fun whatever that is). Get a big bowl, and dump your meat in it. Then, dump in your sauteed vegetables.


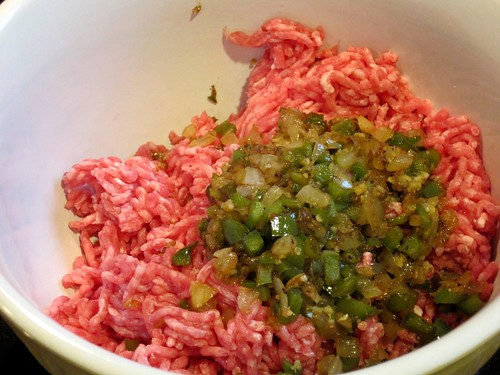
Then, get your hands in there and mix everything together. And this is where it really helps that you've gotten your shit together in advance, because after you add each of the next ingredients, you're going to have to mix everything together with your hands. With your shit together in advance, you won't have to keep washing your hands. Without your shit together in advance, you cover your kitchen in meat goo. I think the choice is clear.

So. Add the chopped up bread mush and mix.

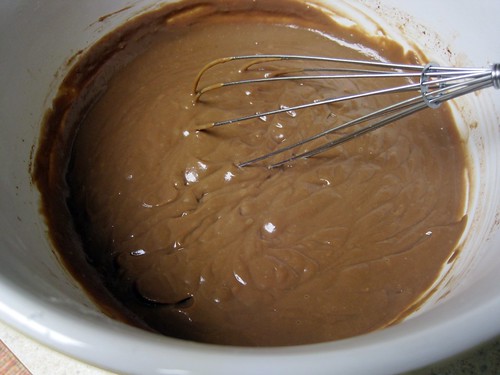
Add most of the barbecue sauce and mix.

Add the spices and mix.

Add the egg and mix.

Everything should be all mixed up uniformly now, which will give us the perfect opportunity to talk about pans.

Here are the two pans I own:


The one on the left is your standard 9 ½ x 5 ½-inch loaf pan, and is the one you should be using if you're making a full-sized loaf. Your meatloaf should completely fill this pan. The one on the right is some other weirdo pan that came with the set that's shallower and wider than a standard loaf pan, and it's what I'm using here. But since it's shallower, I didn't smoosh the meat all the way out to the sides; instead, I kept it tall and proud and loaf-like when I shaped it in the pan. Oh! Because that's the next step in the recipe: pressing your meatloaf mixture into the pan, and topping that off with your remaining barbecue sauce.


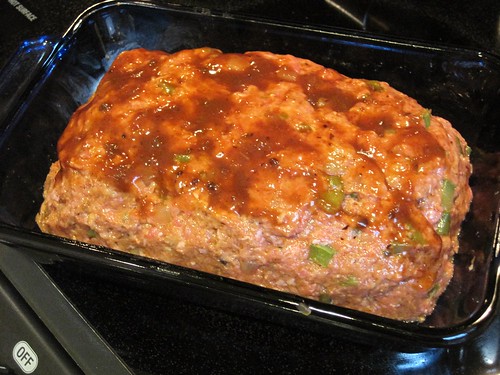
Then, pop that baby (but not your actual baby) into the oven and bake for 45 minutes (an hour and a half for the full-sized loaf).

When it's done, take it back out of the oven and let it sit for about 20 minutes, if you can wait that long.


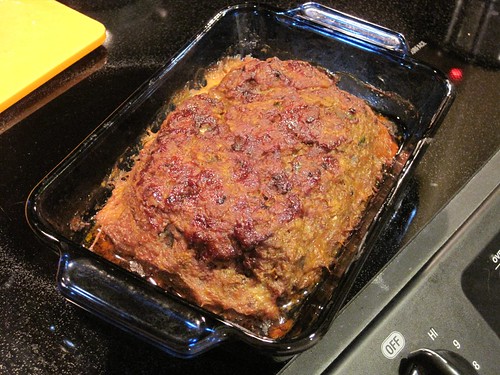
Because believe me, the smells that will start filling your house are liable to make you want to chew your own arm off. I'm drooling just thinking about it. Oh man.

ANYWHO. When you're ready to serve, just pour off any fat that may have accumulated in the pan and slice the loaf into thick slabs of meaty goodness. Serve with more barbecue sauce, or ketchup, or A-1 (my condiment of choice), or whatever it is you like or nothing at all because have I mentioned this before? This is SO GOOD.


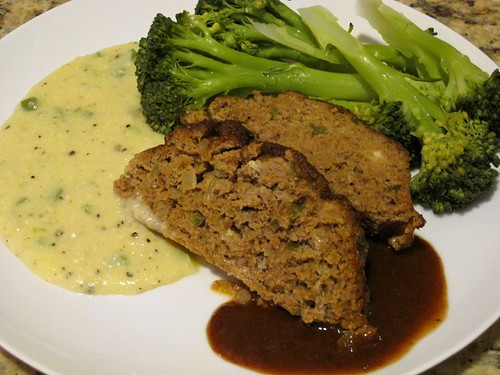
(And yes, those are my cheese grits. ALSO GOOD.)

20.7.11

About Chilled Zucchini Soup

Blah, blah, blah, HOT AS BALLS, blahblahblaaaaaaaah. I don't know, it's HOT AS BALLS. But Vahid asked for more summer recipes, and this is a really good one, especially as it's almost the exact opposite of HOT AS BALLS. Which would be cold as cubes? I don't know, my brain is fried on account of it's HOT AS BALLS.

ANYWAY, this joins the pantheon of cold soups I've shared on this here website, and like those others it's delish. (What did I just do there? I DON'T KNOW. Random letters are just coming off my fingertips right now. Let's move on.) Soooo... for about 4-6 servings (or one really, really big serving you bloody pig), you'll need:
  • 2 tablespoons extra virgin olive oil
  • 2 large shallots, thinly sliced crosswise like this:
  • 4 large zucchini, peeled and halved lengthwise, then cut into thin slices like this:
  • 2 strips of fresh lemon zest, about the width of your vegetable peeler and the length of your lemon, sort of this this:
  • 1 teaspoon salt
  • 1/4 teaspoon black pepper
  • 1 3/4 cups reduced-sodium chicken broth
  • 1 3/4 cups water
  • 1 cup loosely packed fresh flat-leaf parsley leaves
  • 1 tablespoon finely chopped fresh dill, or about this much:
  • 6 ounces plain Greek yogurt

Heat up your olive oil in a 4-quart heavy saucepan or dutch oven over moderate heat. Add the shallots, and cook those down for about 5 minutes, stirring occasionally until they're softened. They'll go from this:

to this:


Add your zucchini, lemon zest, salt, and pepper, and cook those down for about 5 minutes, stirring occasionally until the zucchini is softened.

They'll go from this:

to this:


Next up, add your broth and water (this is what makes it soup!), and simmer everything for about 3 minutes until the zucchini is tender.


Throw your herbs in the pot.


Then, working in batches, puree the soup in a blender until it's smooth. IMPORTANT SIDE NOTE (although it's not to the side, which I guess makes it more of an IMPORTANT WITHIN-PARAGRAPH NOTE): When pureeing hot liquids in a blender, make sure you take the little nubbin thing off of the blender lid. I don't really know what that's called, if it's called anything at all, but it's the thing that leaves a giant hole in the lid. And now you're probably asking yourself why you'd want a giant hole in the blender lid, because isn't a lid supposed to, you know, seal shit up? And this is true, but if you don't have a giant hole in the lid when you're blending hot liquids there would be no place for steam to escape and with no place for steam to escape you get HOT STEAMING EXPLOSIONS. Hence, the Industrial Revolution.

But, you still have a giant hole in the lid which can (and does, believe me) lead to splash back, so just hold a kitchen towel over the hole to catch any soup that might be organizing a massive jailbreak.

Or, you know, you could just buy a stick blender and use that to puree your soup right in the pot. Like this!


Set that aside to cool. Once it's at room temperature, whisk in the yogurt.


Give it a taste, and add more salt if you need it. Then stick that bad boy (or girl, whatever) in the fridge and let it chiiiiiiiillax for a few hours. When it's cold, it's ready to serve!


Stay cool, friends!

11.3.11

About Chocolate Pudding

There are things they say about mice and men that apply equally to Kats and women. My Flickr account is overburdened with pictures I need to turn into recipes, and half a dozen cookbooks sit on the shelf waiting to be reviewed. And what have I been doing all this time? Well, a lot of things, actually. Like major, life-altering things. More to come this summer.

For now, let's talk chocolate pudding, and more specifically, this chocolate pudding. I had originally intended to post this before Valentine's Day as a fun little "Heeeeey, I gave you VD!" recipe, but I ran out of eggs. Oops. Anywho, I've adapted this from Michel Richard's Happy in the Kitchen (one of those aforementioned books I intend to review one of these days) and it really couldn't be easier. In fact, as long as you know how to work a microwave this should be a piece of cake. I mean, a bowl of pudding. Whatevs.

Let's make some groceries. For four servings you'll need:
  • 2 cups milk
  • 4 large egg yolks
  • 2 tablespoons cornstarch
  • 2 tablespoons honey
  • ½ cup semisweet chocolate chips
 Combine your first four ingredients in a large, microwave-safe bowl, and whisk all that up until the honey and cornstarch are dissolved.


Stir in the chocolate chips, and microwave on high for 2 minutes. Remove the bowl and whisk your proto-pudding well, then microwave for another 2 minutes. Whisk again. Then microwave again.


If your pudding hasn't come to a boil or isn't thick enough, keep microwaving/whisking it for a minute at a time until it looks like pudding. You know, like this:


Then, let it sit on the counter for about 15 minutes, periodically whisking to help it cool evenly. Refrigerate it until it's cold, and that's it! You just made pudding! (Whipped Lightning topping completely optional.)