Showing posts with label cheese. Show all posts

27.8.10

About Watermelon and Feta Salad

I do not make idle threats. However, I am horrifying lazy. Actually, that’s not true at all; I’ve just been traveling a heck of a lot the last couple months so I haven’t had the opportunity to do much cooking. HOWEVER however, revenge is a dish best served cold, as is this one, and long ago I threatened Candice and Heather Anne with this recipe so here it is. NOT that I’m trying to get revenge on them for anything or nothing, it’s just that they were a little aghast at the idea even though it is SO GOOD.

(THAT SAID, we made this for Seth’s mother back in May and, while she didn’t hate it, she informed us that she wouldn’t be making it for herself any time soon. Also that she suddenly developed a love for kalamata olives. Silver lining?)

The key to this salad has a lot to do with balance, with playing off salty and sweet and sour, with freshness bouncing off heartiness. And if you’ve ever put salt on your apple or watermelon you’ll know exactly what I mean. (Do other people actually do this? Or is this another weirdo Vietnamese habit I think is normal?) All that nonsense said, I don’t have a whole lot of instruction for you on this one; just(ish) a list of ingredients. Which look like this:


And consist of:

  • A watermelon (the sweeter the better), cut into bite-sized chunks
  • A block of feta cheese, cut into smaller bite-sized chunks
  • Good quality kalamata olives, cut in half
  • Fresh mint, julienned
  • Fresh lime
  • Extra virgin olive oil
  • Salt and pepper to taste

I said that the key to this dish is balance, and the key to balance is ratio. So basically you want a quarter to a third the amount of feta and olives as to the watermelon. Does that make sense? MATH IS HARD. What I mean to say is, you want mostly watermelon, with a bit of feta and olive mixed in to add a little salty accent.

After you've carried the two, put all that in a bowl, add a fair bit of the mint, a generous squeeze of lime juice, and a glug or two of extra virgin olive oil. (You can also add thinly sliced red onion to this, but I never do.)
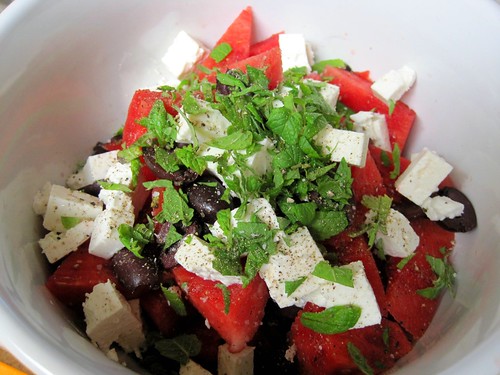


Give it a gentle stir and an initial taste. My guess is that it’s going to need a bit more lime juice, and some salt and pepper. But they’re your taste buds, so you decide for yourself. Then, cover the bowl with plastic wrap and refrigerate it for an hour or two until it’s nice and cold.


And voila. A refreshing salad for a hot barbecue.

(One small note: this salad doesn’t keep well. The salt eventually breaks down the watermelon and turns it into mush, so it’s best to make this the day you need it and not the day before. Consider yourself warned.)

18.5.09

About Cheese Grits

Of the many important lessons one can learn from the classic movie My Cousin Vinny, the most important is this: no self-respecting Southerner would ever use instant grits. So it's a damn good thing I'm just barely a Southerner, because I'll stand around for fifteen years making risotto, but when I want cheese grits I want them RIGHT NOW. Seriously, the mere mention of cheese grits is enough to make my head explode, and so it was last week when Heather Anne merely mentioned cheese grits, and all my Pavlovian reflexes kicked in and my head was filled with nothing but the thought of cheese grits and so I made cheese grits. AND THEY WERE GOOD.

So now I'll pass the savings on to you! Let's make some groceries. For a big ol' pot o' grits that will serve about six normal-sized human beings, you'll need:
  • 1/4 cup butter
  • 1 cup finely diced yellow onion
  • 3/4 cup finely diced green pepper
  • 1 medium jalapeno pepper, minced
  • 4 large garlic cloves, minced or pressed through a garlic press
  • 4 cups milk
  • 1 cup quick grits
  • 1 cup shredded cheddar cheese
  • 1/4 grated Pecorino Romano cheese
  • salt, pepper, Tabasco to taste
Have we talked mis-en-place? We have? Good! Because here it is again.


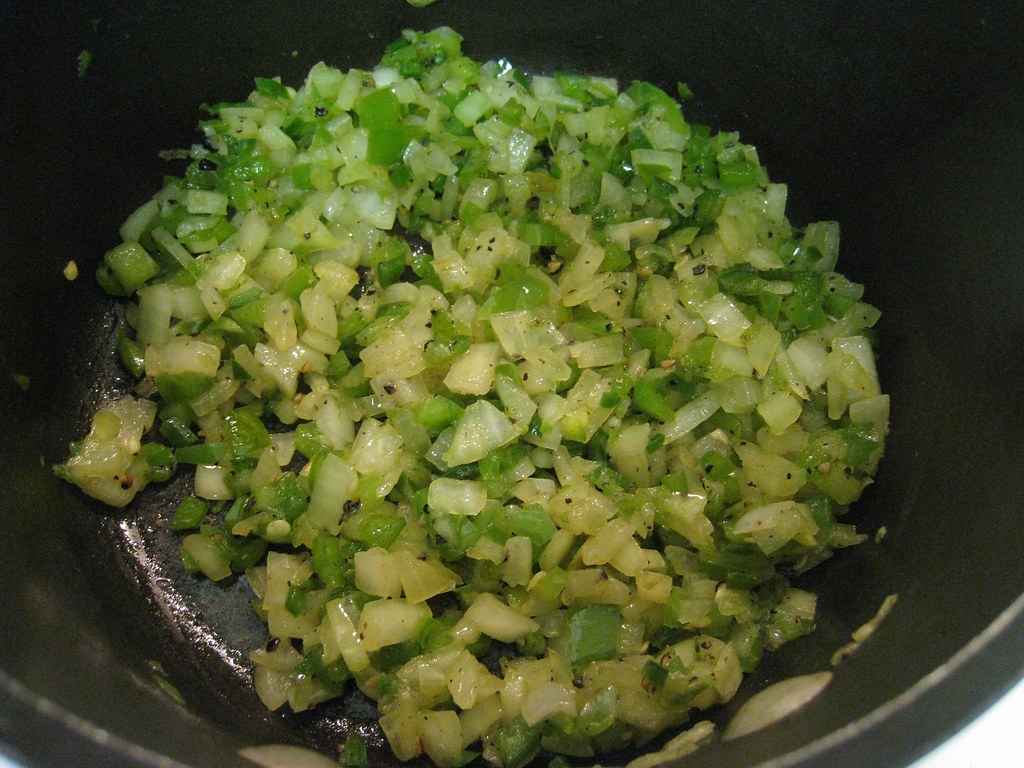
So, melt half of the butter in a saucepan over medium-high heat. When it has stopped foaming, add the yellow onion, green pepper, and jalapeno. Sprinkle a little salt and pepper over the veggies and saute them until nice and soft. Then add the garlic and saute for about a minute more, making sure it doesn't burn. It should look like this when you're done:


Pour in the milk, cover the pan, and bring it to a boil. (But watch the pot carefully so the milk doesn't boil over, and yeah, I know what they say about watched pots never boiling, but there's also this thing called physics that says otherwise.) Turn the heat down to medium-low and slowly stir in the grits so's you don't give yourself the lumps.


Cook, covered, for 5 minutes, stirring occasionally. (You'll obviously need to uncover the pot occasionally to stir up your grits.)

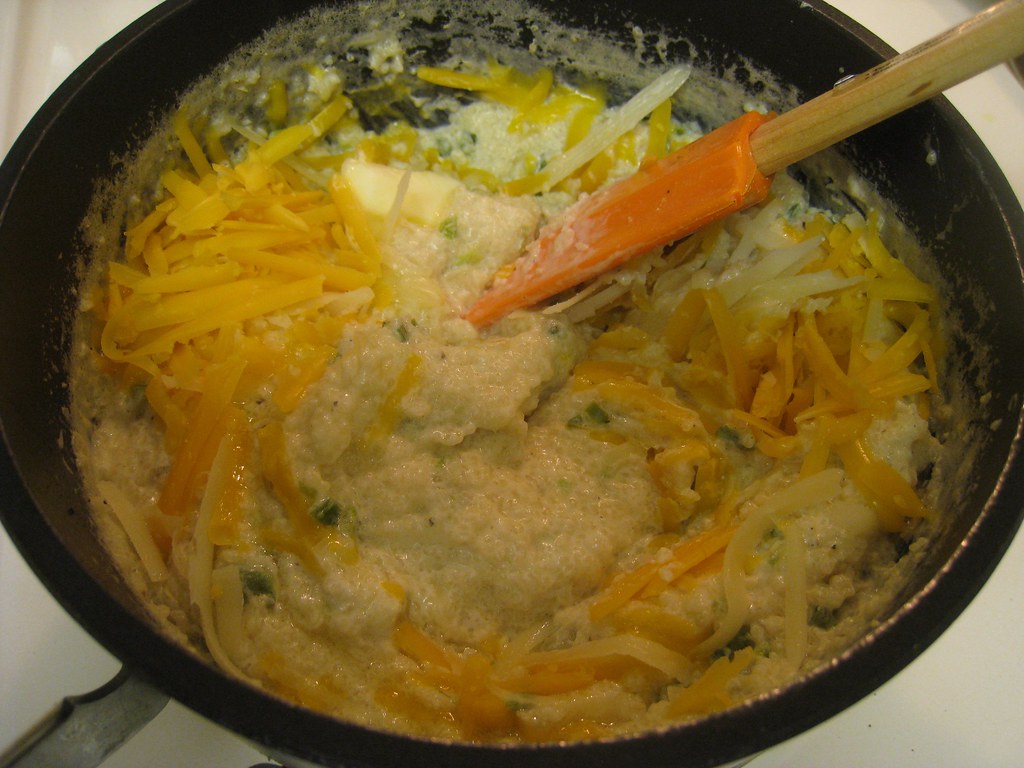
Now pull the pan off the heat and add both cheeses and the rest of the butter. Stir until the cheeses are all melted and incorporated into the grits.


Give it a taste, then add more salt and pepper if it needs it, and top it off with a little Tabasco. I apologize in advance if, after eating a whole mess of these cheese grits, you never think of anything ever again.

Who am I kidding? I'm not sorry AT ALL.

30.4.09

About Ricotta

I have a rather surprising confession to make, and that is this: I love cheese. I love cheese SO MUCH. I love cheese SO MUCH that every now and again I am overcome with this overwhelming desire--nay, need--to wield my God-like powers and CREATE THE OBJECT I SO DESIRE.

Ahem. Sorry about that; I think my love of cheese momentarily took over my brain like some sort of brain-taker-over thingy. ANYWAY, here's the thing: making ricotta is ridiculously easy. So let's go shopping, 'kay?

For about a cup of cheese you'll need:
  • 1 quart whole milk
  • 1 cup heavy cream
  • 4 lemons
  • 1/2 teaspoon salt
  • 1/2 teaspoon sugar
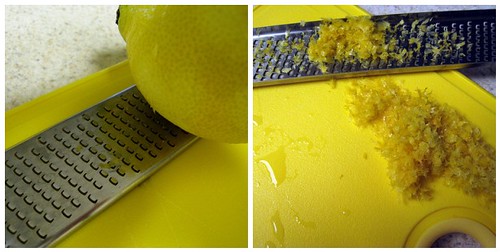
So listen, you might not have a Microplane grater in your kitchen, and to that I say WHY NOT? Just look what a good job it does at zesting lemons!


Because that's what you'll need to do first: remove the zest from all your lemons and then juice them. (If you don't have a Microplane, don't fret! You can use either a vegetable peeler or the finest side of a box grater. Just make sure you only remove the outer yellow part, and none of the pithy white stuff beneath.)

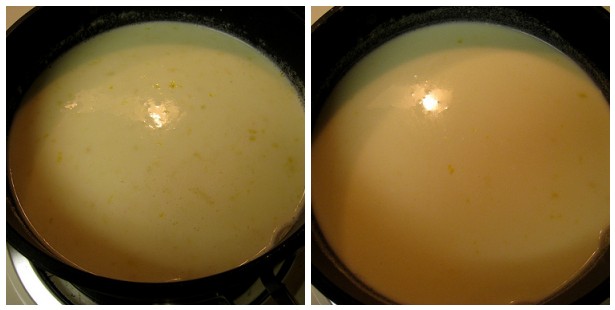
Now that the hard work is done, go ahead and heat up your milk and cream. Once it comes to a boil immediately remove it from burner. Add the rest of your ingredients, stir it all together, and let it sit for 20 minutes. It'll go from this to this:


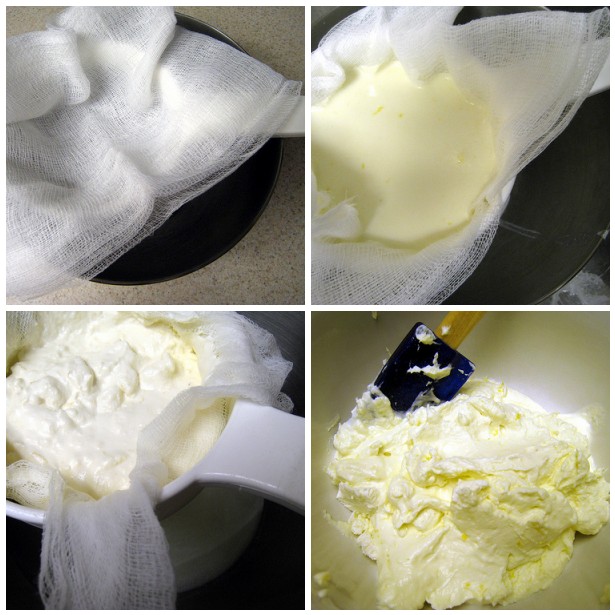
Fascinating, I know. Seriously, though, this is where it gets interesting. Remember that fine-mesh sieve of yours? Well, set that over a bowl and line it with a couple layers of cheesecloth. (Get it? Cheesecloth?) Then pour everything in that pot through that cheesecloth (get it?) and let it strain for at least two hours, until it's about as thick (heh) as you need it to be.


Then, when you dump it all out into a bowl, you can pat yourself on the back because YOU JUST MADE CHEESE.

One final note: this particular ricotta recipe is very, very lemony, which means it's best suited for desserts, or for foods that play well with lemons. So if you want a more Jack-of-all-trades cheese, omit the zest and only use the juice of 2 or 3 lemons.

Happy cheesemaking!