There are things they say about mice and men that apply equally to Kats and women. My Flickr account is overburdened with pictures I need to turn into recipes, and half a dozen cookbooks sit on the shelf waiting to be reviewed. And what have I been doing all this time? Well, a lot of things, actually. Like major, life-altering things. More to come this summer.
For now, let's talk chocolate pudding, and more specifically, this chocolate pudding. I had originally intended to post this before Valentine's Day as a fun little "Heeeeey, I gave you VD!" recipe, but I ran out of eggs. Oops. Anywho, I've adapted this from Michel Richard's Happy in the Kitchen (one of those aforementioned books I intend to review one of these days) and it really couldn't be easier. In fact, as long as you know how to work a microwave this should be a piece of cake. I mean, a bowl of pudding. Whatevs.
Let's make some groceries. For four servings you'll need:
2 cups milk
4 large egg yolks
2 tablespoons cornstarch
2 tablespoons honey
½ cup semisweet chocolate chips
Combine your first four ingredients in a large, microwave-safe bowl, and whisk all that up until the honey and cornstarch are dissolved.
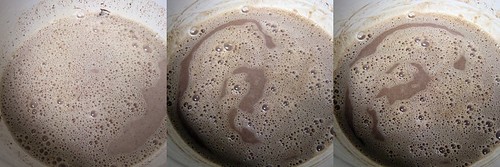
Stir in the chocolate chips, and microwave on high for 2 minutes. Remove the bowl and whisk your proto-pudding well, then microwave for another 2 minutes. Whisk again. Then microwave again.
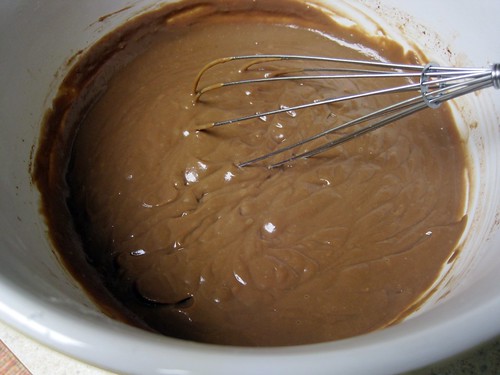
If your pudding hasn't come to a boil or isn't thick enough, keep microwaving/whisking it for a minute at a time until it looks like pudding. You know, like this:
Then, let it sit on the counter for about 15 minutes, periodically whisking to help it cool evenly. Refrigerate it until it's cold, and that's it! You just made pudding! (Whipped Lightning topping completely optional.)
I mentioned once before that I have exactly two cookie recipes, and this is the other one. And can I just tell you how lucky you guys are that you’re getting this today? Because it’s H-E-DOUBLE-HOCKEY STICKS week at work and I’ve been (a) away from the computer, and (b) STUCK IN MOTHER EFFING VIRGINIA.
So, to recap, cookies = delicious and Kat = busy. And this recipe = 18 delicious oatmeal raisin cookies, which are made of oatmeal and raisins, and since oatmeal and raisins are very healthy and good for you, you should feel free to eat all 18 by yourself. Which you are sure to do, because as I said, cookies = delicious. Here’s what you need:
12 tablespoons (that would be 1 1/2 sticks) of unsalted butter, at room temperature
1 cup light brown sugar
1/2 cup sugar
1 teaspoon baking powder
1/4 teaspoon baking soda
1/4 teaspoon ground cinnamon
2 large eggs
1 teaspoon vanilla extract
1 cup raisins
1 3/4 cups flour
2 cups rolled oats (and I mean the good, Irish rolled oats, not the quick-cooking or instant oats)
Sea or kosher salt, for sprinkling
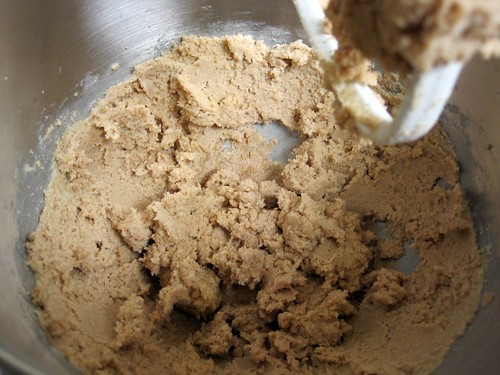
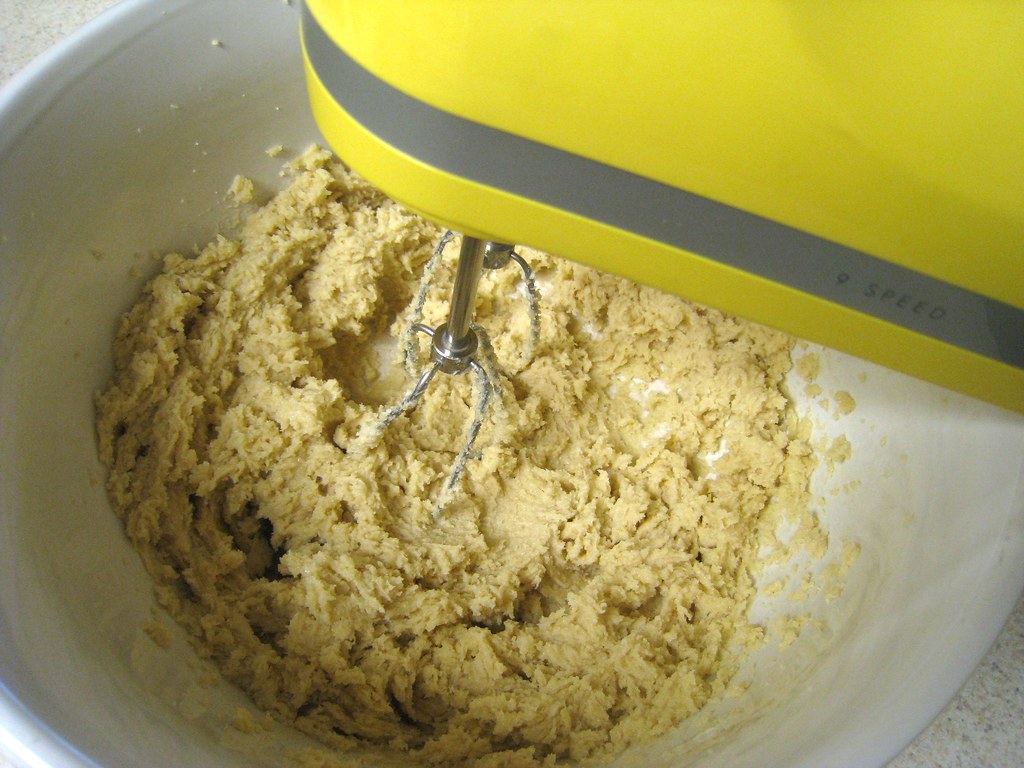
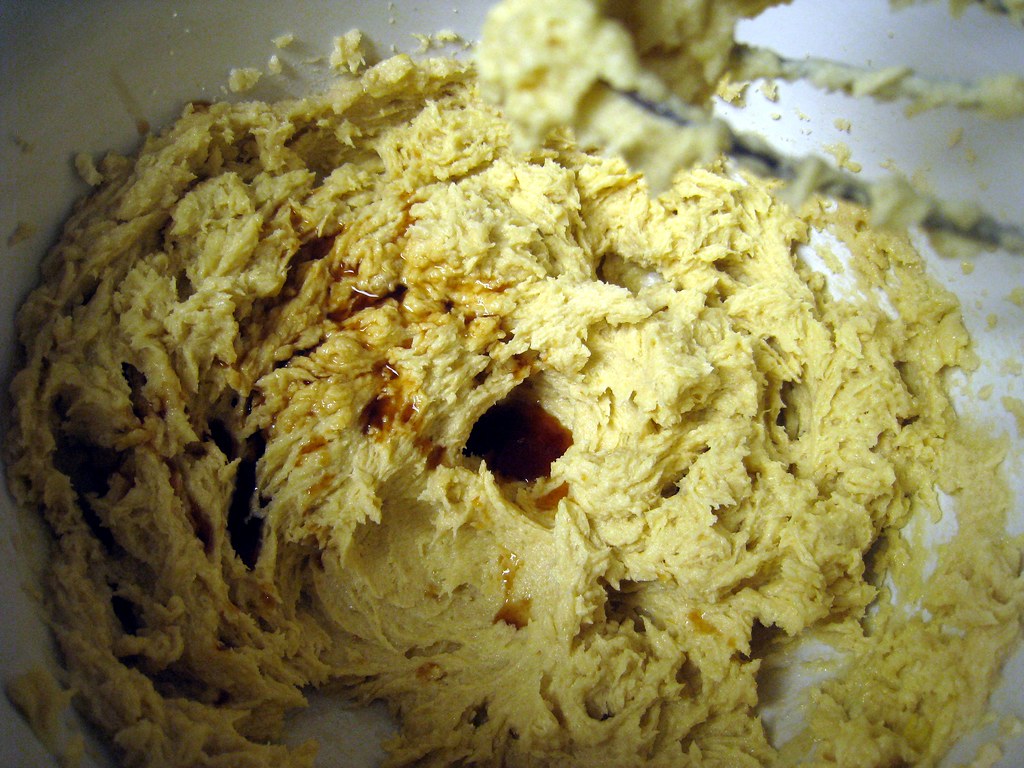
You can easily make this recipe by hand, but since I now have this amazingly amazing stand mixer courtesy of my non-mother-in-law (gift registries RULE!!!11!!!!!!), I will be making it in that. So. In a large bowl, beat the butter for a few minutes (on medium-high speed if applicable) until it’s light and fluffy.
Scrape down the sides of the bowl (if applicable) and add the sugars, baking powder, baking soda and cinnamon, beating until the mixture is well blended.
Reduce the speed of your amazingly amazing stand mixer (if applicable) to medium and add the eggs and vanilla extract, mixing until well incorporated.
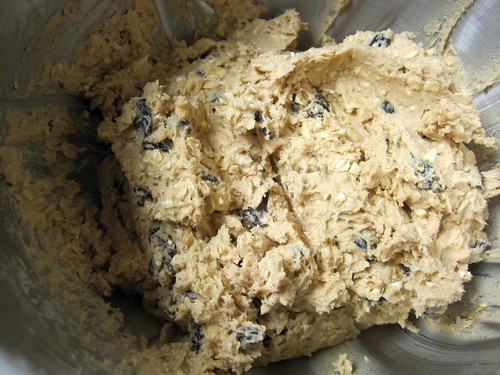
Stir in the raisins. Then, reduce the speed of your amazingly amazing stand mixer (if applicable) to low and add the flour and oats, scraping down the sides of the bowl as necessary and mixing just until they are incorporated.
Cover the bowl with plastic wrap and chill your dough for at least an hour before baking. Meanwhile! Preheat the oven to 375 degrees.
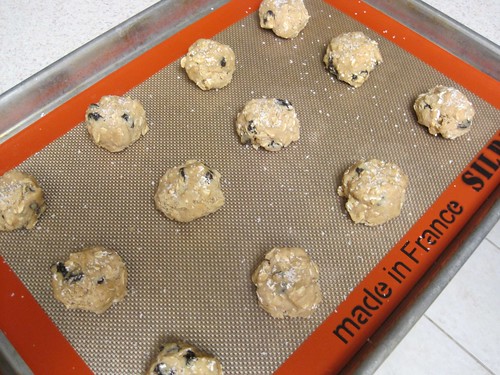
Line a large baking sheet with parchment paper or a Silpat silicone non-stick baking mat. (Thanks, Jennie and Joe! Gift registries RULE!!!11!!!!!!) Form the dough into balls about the size of balls of golf and place them on the mat about 2 inches apart.
Now here’s the (arguably) weird part: generously sprinkle sea or kosher salt on top of each dough ball. Trust me on this one; it makes all the difference.
Bake 1 sheet at a time for 15 minutes or until the cookies are puffed and beginning to turn golden.
Transfer the cookies to a wire rack to cool completely. If you can wait that long. Me? I eat them as soon as they stop burning my fingers. And then I eat them all. Which brings us to today’s PROTIP!
You can go ahead and scoop out all of your golf balls onto a baking sheet like this:
and then stick that baking sheet (without the sprinkling of salt) in the freezer. As soon as your dough balls are frozen through, transfer them to a freezer bag for storage and safe-keeping. Then! Whenever you want warm fresh-baked oatmeal raisin cookies, take a ball or two out of the freezer, sprinkle them with salt, and stick them in your toaster oven. They’ll bake at the same temperature, but add a minute or two to the cooking time. Then! Voila! Warm fresh-baked oatmeal cookies whenever you want them!
As you no doubt have already guessed, it's summer! Well, I'm told it's summer anyway, but if you were to look out my window right now all you'd see is dreary wind-whipped rain and if you were to look at me right now all you'd see is a drowned rat wearing a pink shirt and doing a pretty decent job of typing on a laptop. If the drowned rat doesn't say so herself. POINT IS, we just had a glorious if far too short three-day weekend, and at least two of those days were accompanied by glorious sunny weather and at least one of those days was accompanied by THE NATIONAL, MOTHERFUCKERS! so who cares if it rained a little bit?
Actually, that wasn't the point at all. POINT IS, now that summer is here so is strawberry season and chances are your local supermarket/super farmers' market is overflowing with the stuff, and dear lord almighty I love me some strawberry ice cream. And this particular strawberry ice cream is, as my boyfriend told me, the best ice cream I've ever made. And once again I'm replacing the whole milk and heavy cream with fat-free half-and-half, which I KNOW is so freaking unnatural if you think about it too hard, but as I mentioned once or twice before it's summer and my pool opened this weekend and also my ass is big enough as it is, thank you very much.
For a quart + a heaping bowl for immediate consumption you'll need:
1 pint of strawberries, sliced 3 cups of fat-free half-and-half 3/4 cup sugar (use 2/3 cup if your berries are particularly sweet) Pinch of salt 5 large egg yolks 1/4 teaspoon vanilla extract
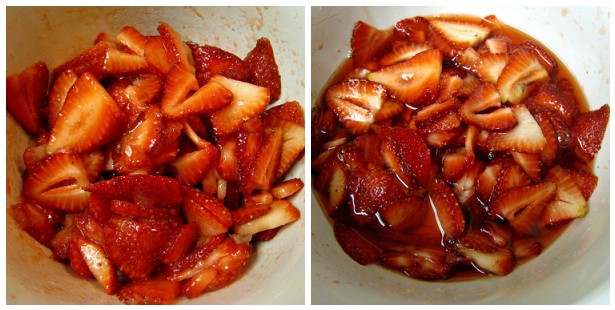
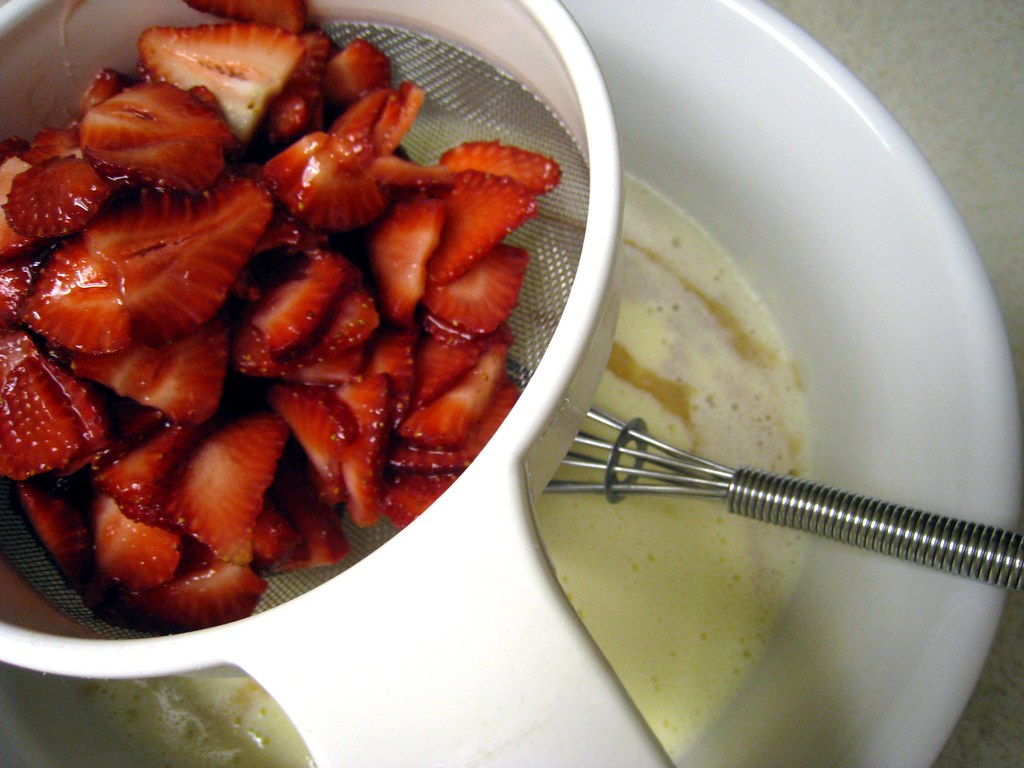
First you're gonna want to macerate your strawberries, and all that means is you're gonna toss your sliced strawberries in a bowl with about 1/3 cup of the sugar and let that sit around for an hour until the strawberries get all juicy. I have no idea why this happens, but I'm pretty sure it has something to do with science. Also unicorns.
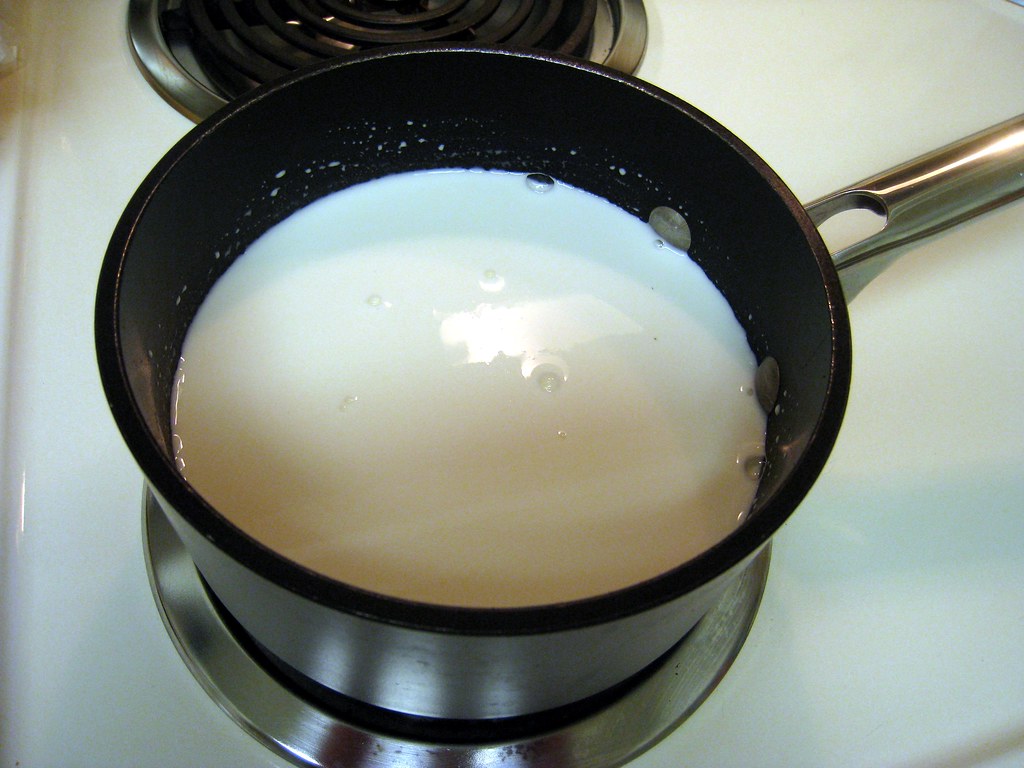
Next, heat up 2 cups of the freaky-deaky fat-free half-and-half, the rest of the sugar, and a pinch of salt in a medium saucepan until everything gets all warm and steamy, but not boiling. (Sound familiar? That's because this is how you make ice cream. It's all the same. Only the names have changed.)
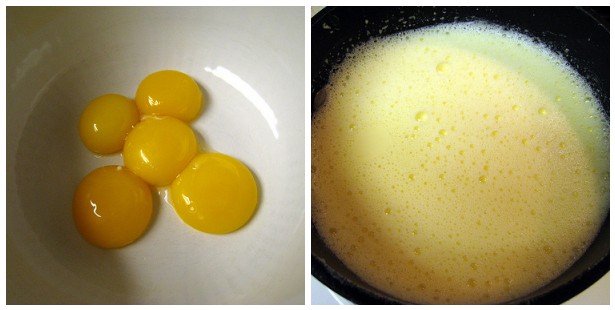
Plop your egg yolks in a bowl and whisk them all together. Now you are going to temper those with a little of your warm cream mixture by slowly pouring a little of it at a time into the egg yolks, whisking constantly so that the egg yolks get incorporated into the cream without scrambling first. Because scrambled eggs are good for breakfast but not for ice cream (as far as I know).
Now to make a custard! Scrape that all that back into the saucepan, stirring it constantly over medium heat with a silicon spatula, scraping the bottom and sides of the pot as you stir. In about 10 minutes, you'll notice the mixture has thickened considerably. Once it coats the spatula so that you can run your finger across the coating and have it not run (if you have an instant-read thermometer, it should register about 170 degrees), you're done. (With this step, anyway.)
Pour the remaining cup of fat-free half-and-half into a large bowl, and set a mesh strainer on top. Now pour your custard through the strainer and stir it into the cream. This will catch any pieces of curdled egg that may have curdled on accident. Don't worry, it's common. It happens to most guys. It's not a big deal.
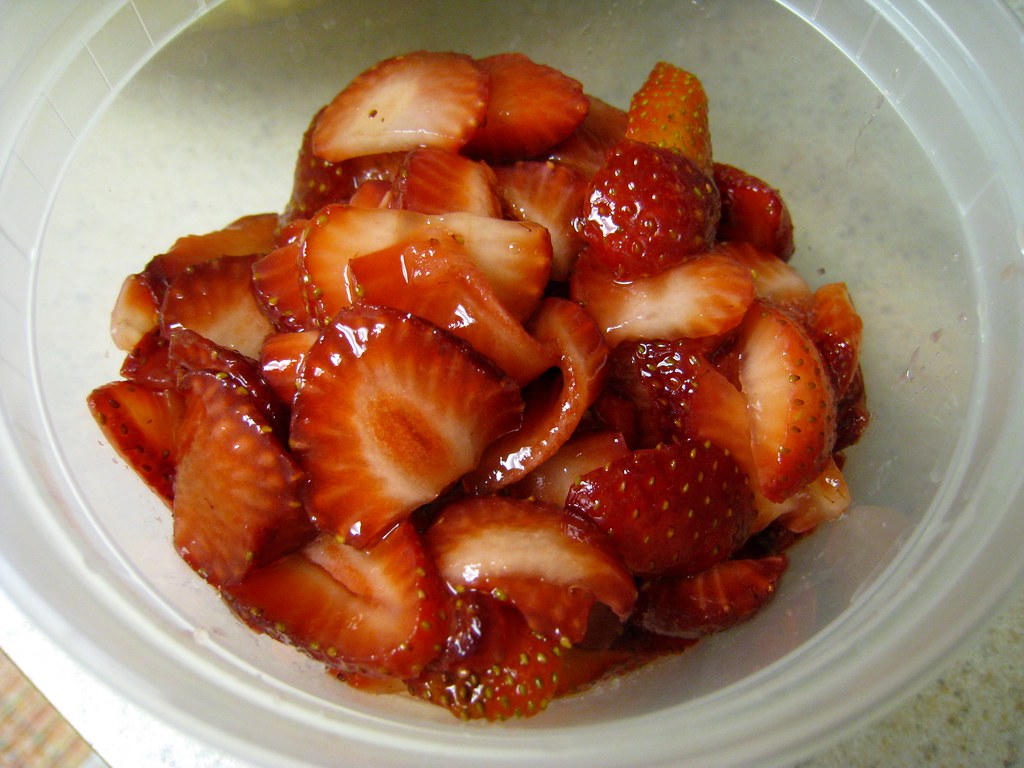
Strain your strawberries through the strainer, but don't strain yourself as you make sure all the juices get into the bowl. (See what I did there?) Stick these strawberries in the fridge and save them for later.
Finally, add in the vanilla and stir it all together.
And now we Ctrl+C and Ctrl+V:
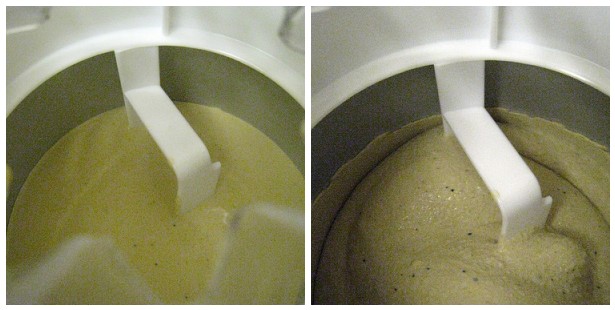
Here's the big secret to making ice cream at home: the colder your base is before you put it in the machine, the better. So wrap up your bowl in plastic wrap and stick it in the fridge at least overnight. Or, as Jack Bauer has taught us, 24 hours is better. Then, fix up your ice cream maker however you're s'posed to fix it up, flip that baby on, and pour your custard in.
And watch the magic happen!
Also, listen to the magic happen!
Magic is loud!
After 20ish minutes of loud magic, add your strawberries. By saving them until the last 5 minutes, you can keep them from getting mushed up into unrecognizable pulp during the churning process.
After they've all been incorporated, scoop your ice cream into a container and stick it in the freezer for another couple hours. Then? YUM.
Mmm... cookies. I mentioned over here that I have exactly two cookie recipes (because my boyfriend is some sort of freak of nature who doesn't like dessert), and this is exactly one of them (that my freak-of-nature boyfriend will actually eat). And my hopes in sharing this is that I'll convince you how quick and easy it is to make chocolate chip cookies yourself, from scratch, because those fake-o take-and-bake brands? SUCK DONKEY BALLS.
Your shopping list for about 3-4 dozen cookies, assuming you don't already have these ingredients in your pantry (which I almost always do):
2 sticks unsalted butter, at room temperature (Always buy unsalted butter! This way YOU get to control how much salt goes into your food, and not some faceless manufacturer! POWER TO THE PEOPLE!)
3/4 cup white sugar
3/4 light brown sugar
2 eggs
1 teaspoon vanilla extract
2 cups all-purpose flour (Preferably unbleached; it tastes better and is better for you! See, I'm making cookies healthy! DON'T SAY I NEVER DID ANYTHING FOR YOU!)
1/2 teaspoon baking soda
1/2 teaspoon salt
2 cups chocolate chips
Preheat your oven to 375F.
Cream together the butter and sugars. If you have an electric hand mixer now's the time to use it. (Mine is yellow! Like my kitchen!)
It should look about like this when you're done:
Next, add the eggs one at a time and beat until well blended. The add the vanilla extract and, again, beat until well blended.
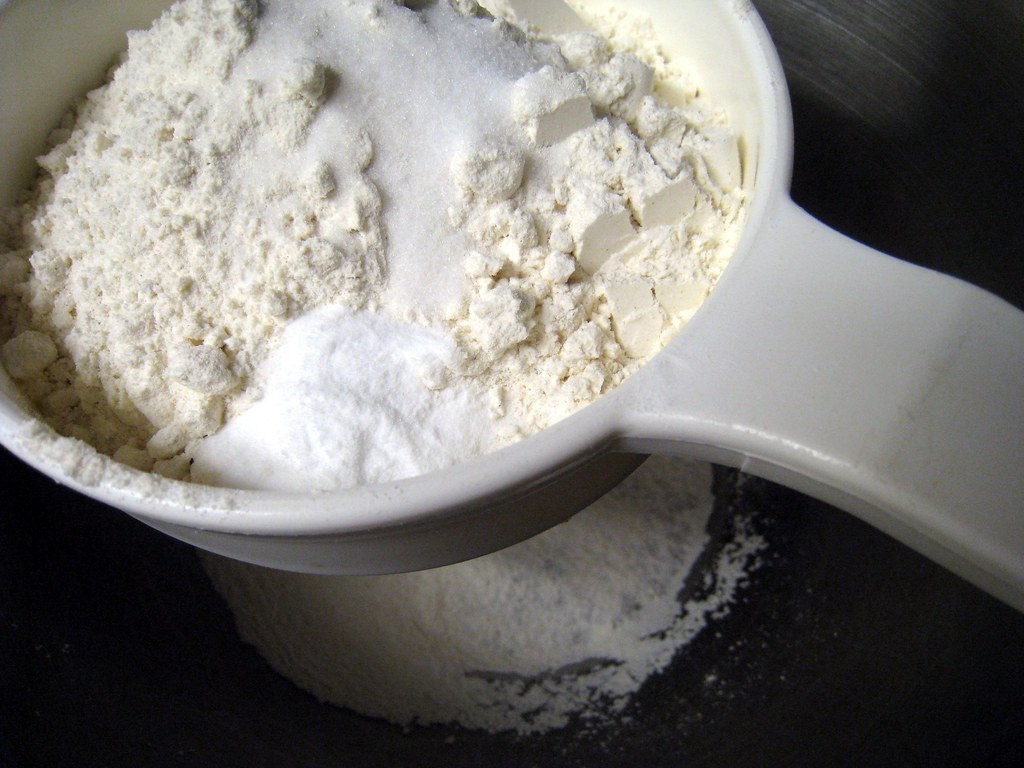
Combine the flour, baking soda, and salt in a separate bowl. I like to sift it all together through my fine mesh colander, just to make sure I don't end up with any random pockets of baking soda, because have you tasted baking soda toothpaste? GROSS.
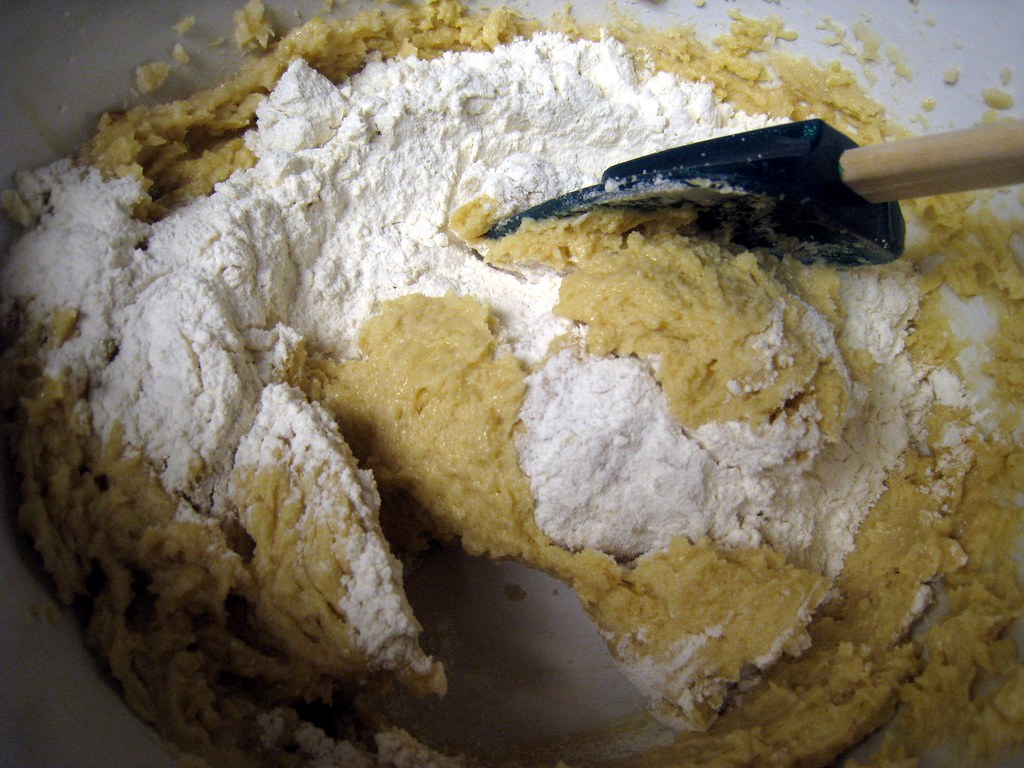
Now add your dry ingredients to your wet ingredients by hand, a third at a time, stirring to blend. Try not to stir it forever and ever and ever; there's this thing with the proteins in flour and gluten or whatever, and basically what happens when you overwork your dough is you get really tough, mealy cookies. Again, gross.
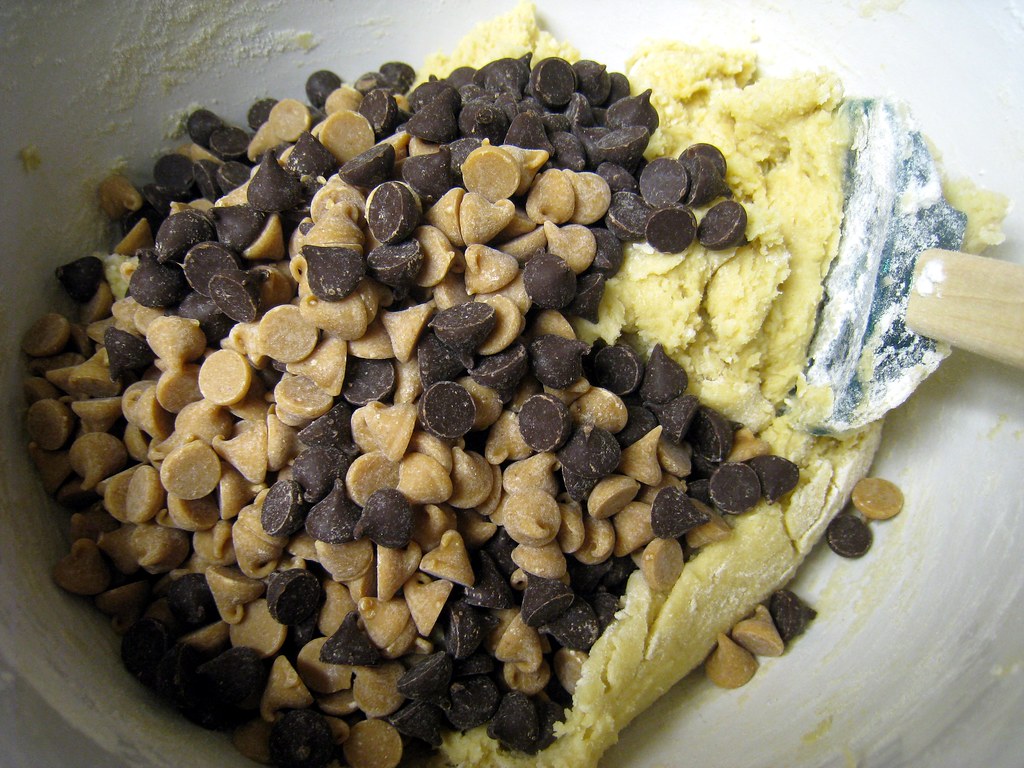
Add the chocolate chips. Here I actually ran out of chocolate chips, so I added some peanut butter chips too. You could easily replace some of the chips with nuts. (Heh.)
Give it a quick stir. You'll see that this batter is pretty damn chippy, because chips (of all varieties, incidentally) are DELICIOUS.
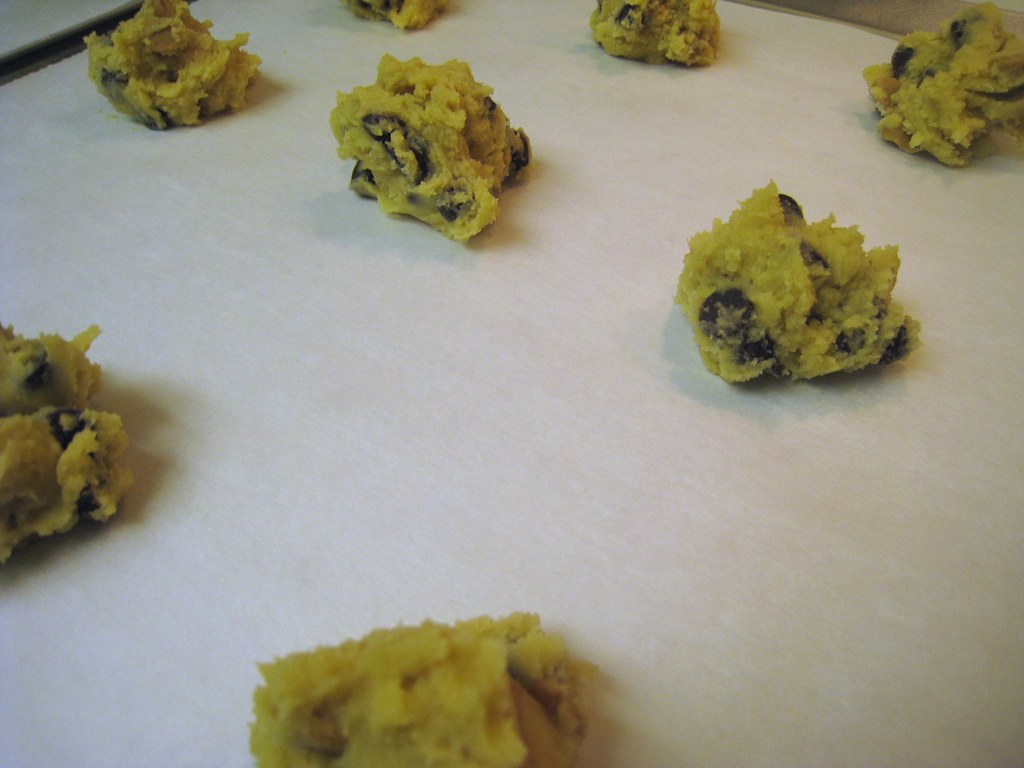
Then, drop tablespoonful-sized mounds onto ungreased cookie sheets. I line mine with parchment paper because I'm lazy and I don't like to do dishes. But maybe you're not lazy and you're some sort of freak of nature who actually likes to do dishes, then by all means, skip the parchment paper.
Make sure your cookie mounds are spread out, because they're cookies, and when they're cooked they'll actually be shaped like cookies. I know, SHOCKING.
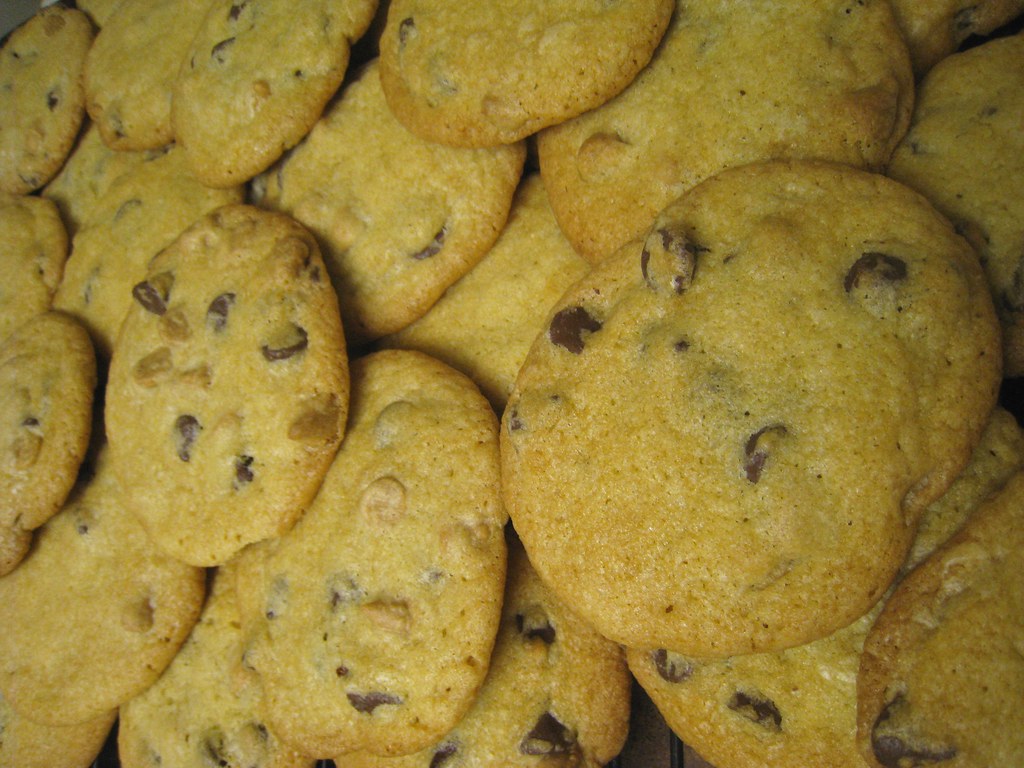
Bake them until lightly browned, about 10-12 minutes. Then let them cool on the sheet for around 2 minutes before transferring to a rack to finish cooling.
We like us some Irish coffee. We like us some Irish coffee A LOT. In fact, now that it's playoff season we'll be spending the majority of our time before games at the pub around the corner, sipping a couple of these:
(1 p.m. games = 10 a.m. Irish coffees.) (Also, LET'S GO CAPS!)
Another thing we like is ice cream. We like ice cream A LOT. In fact, just this last summer Winston (cutest kitten in the whole wide world) bought me an ice cream maker for my birthday so's I could do awesome things like PUT BOOZE IN MY ICE CREAM. Because booze is awesome.
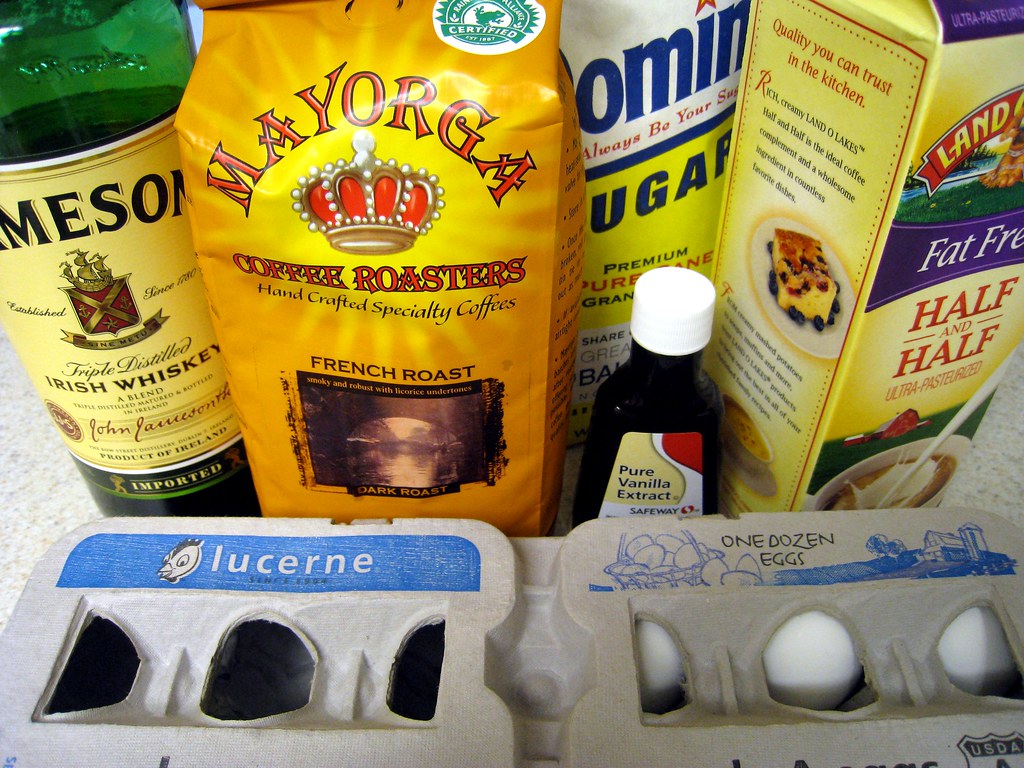
Time to go shopping (for booze).
For about a quart of ice cream you'll need:
3 cups of fat-free half-and-half (usually I use 1 1/2 cups of whole milk and 1 1/2 cups of heavy cream, but I went this route just to see if it would work. And it did.)
3/4 cup sugar
1 1/2 cups whole coffee beans (I meant to use decaf, but the boyfriend brought home the wrong stuff.)
Pinch of salt
5 large egg yolks
1/4 teaspoon vanilla extract
2 tablespoons Irish whiskey (any more and your ice cream won't actually freeze. But the resulting Irish coffee milkshakes will be equally delicious. And way boozier. Just not frozen.)
1/4 teaspoon finely ground coffee (you can press regular grinds through a fine mesh sieve, or use espresso grinds. Also, "grinds" is a funny word.)
First, you're gonna wanna pour yourself a glass of that there whiskey. Gotta make sure it's not poisoned, right?
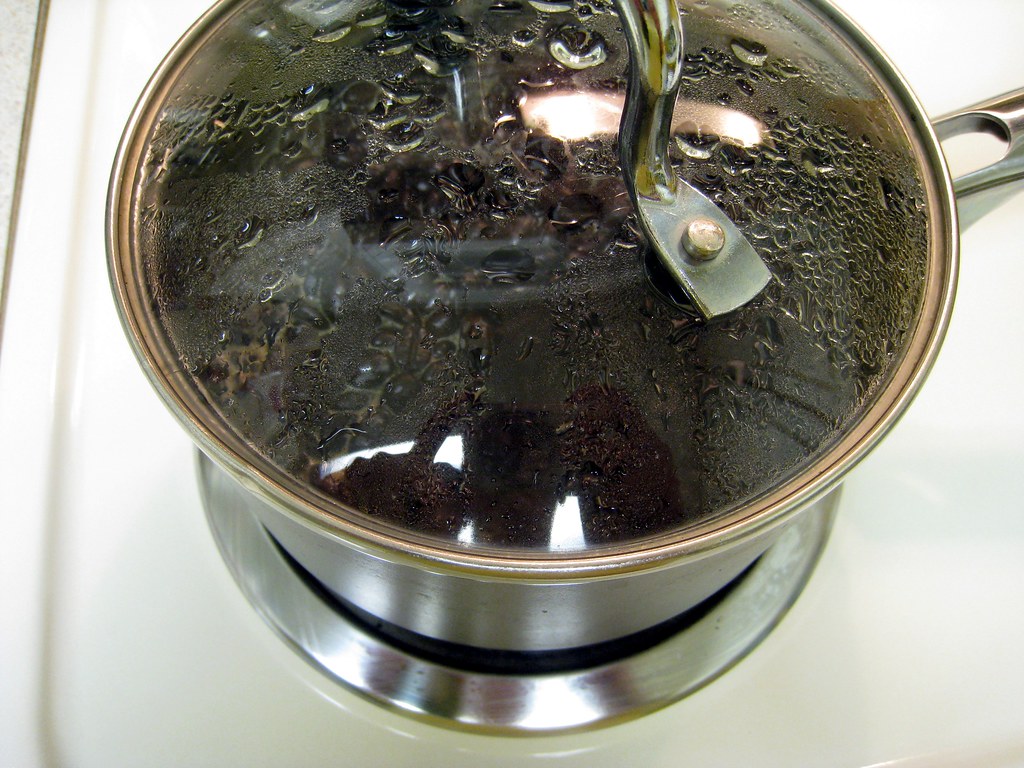
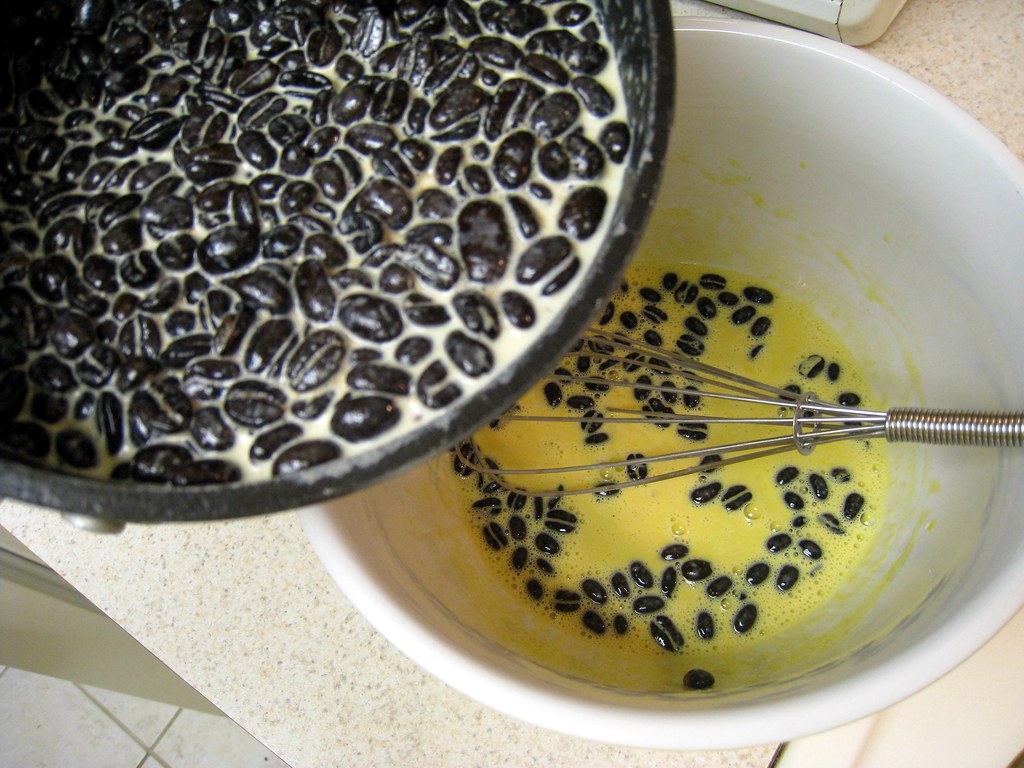
Next, heat up 2 cups of fat-free half-and-half, all of the sugar, the coffee beans, and a pinch of salt in a medium saucepan until everything gets all warm and steamy, but not boiling.
Then, put on yer lid, remove the pot from the heat, and let the whole shebang steep at room temperature for an hour to let all the coffee goodness get good and coffee-y.
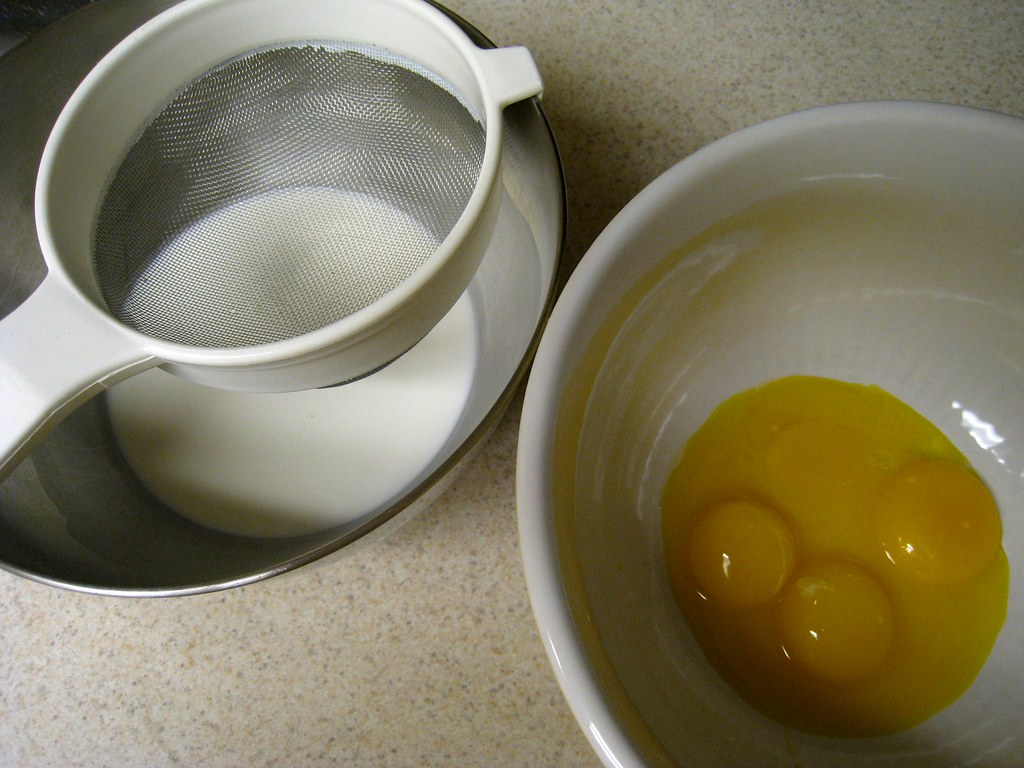
Pour the remaining cup of fat-free half-and-half into a large bowl, and set a mesh strainer on top. Set aside. In a separate bowl, whisk the egg yolks together.
Reheat your lidded coffee mixture, now unlidded, on medium heat, until again hot and steamy (heh). When you've gotten all hot and steamy (heh) slowly pour a little of the mixture at a time into the egg yolks, whisking constantly so that the egg yolks are tempered by the warm milk, but not cooked by it. If you pour too fast or whisk not enough, you'll end up scrambling your eggs, which is good for breakfast but not for ice cream (as far as I know).
Now to make a custard! Scrape that all that back into the saucepan, stirring it constantly over medium heat with a silicon spatula, scraping the bottom and sides of the pot as you stir. In about 10 minutes, you'll notice the mixture has thickened considerably. Once it coats the spatula so that you can run your finger across the coating and have it not run, you're done. (With this step, anyway.)
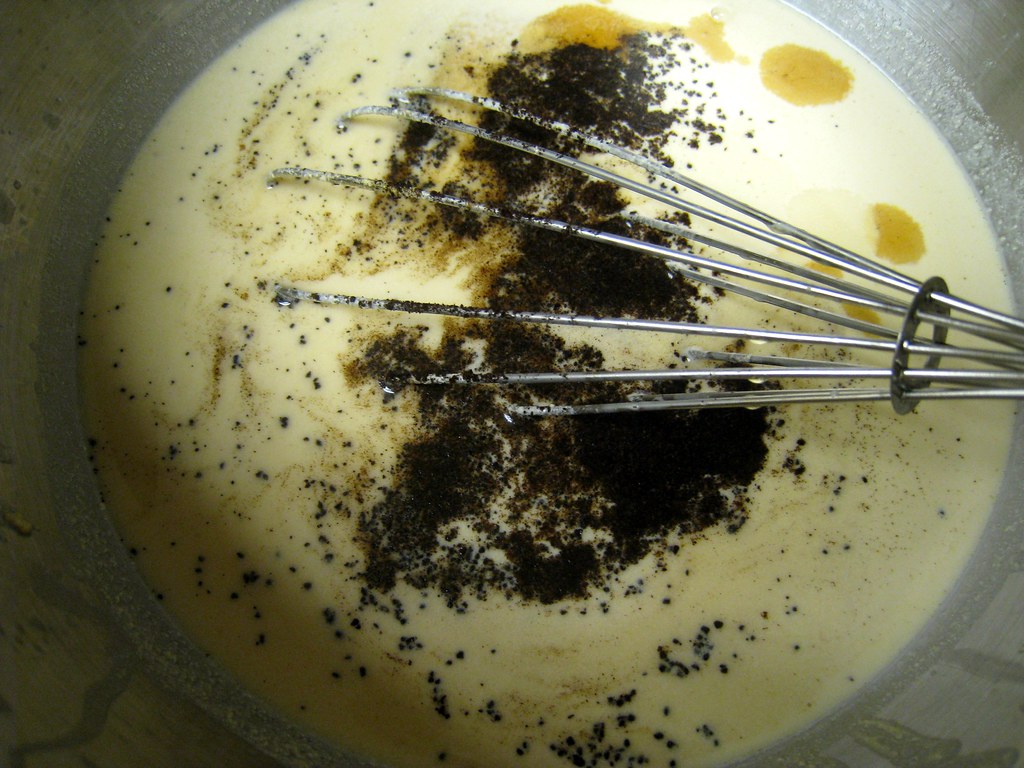
Now pour your custard through the strainer and stir it into the cream. Press down on the coffee beans in the strainer to extract as much of the delicious coffee flavor as possible. (You'll notice that the fine mesh will also catch any pieces of scrambled egg you may have accidentally cooked.) Then you can toss the beans in the garbage. Or better yet, the compost heap! Finally, mix in the vanilla, Jameson, and finely ground coffee, and stir until cooled.
Here's the big secret to making ice cream at home: the colder your base is before you put it in the machine, the better. So wrap up your bowl in plastic wrap and stick it in the fridge at least overnight. Or, as Jack Bauer has taught us, 24 hours is better. Then, fix up your ice cream maker however you're s'posed to fix it up, flip that baby on, and pour your custard in.
And watch the magic happen!
Also, listen to the magic happen!
Magic is loud!
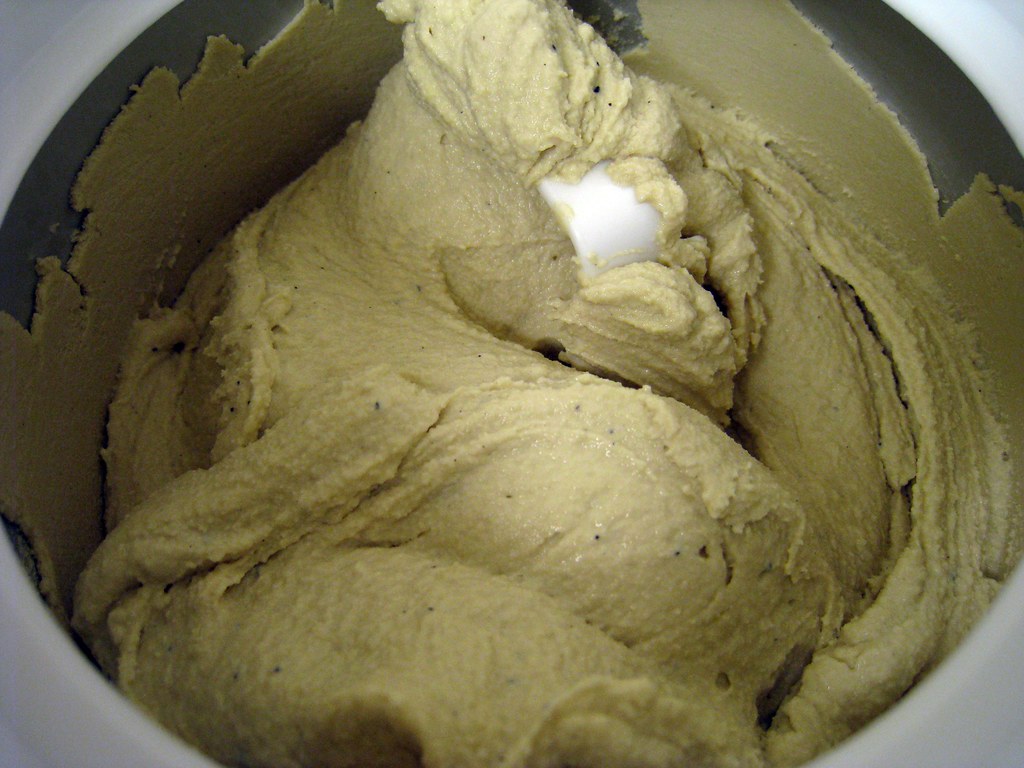
After 20-30 minutes of loud magic, you'll have this!
Which is about the consistency of soft-serve. So you can either eat it right away, or scoop it all into a container and stick it in the freezer for another couple hours. Either way, YUM.